Manage Category
Expense categories let you classify your school's spending into logical groups (e.g., Utilities & Energy, Maintenance, IT Services, Transportation). Categories must be created before recording expenses — every expense entry requires a category.
Create all your expense categories before recording expenses under Finance & Accounting → Expense → Manage Expense. This ensures consistent classification and accurate reporting.
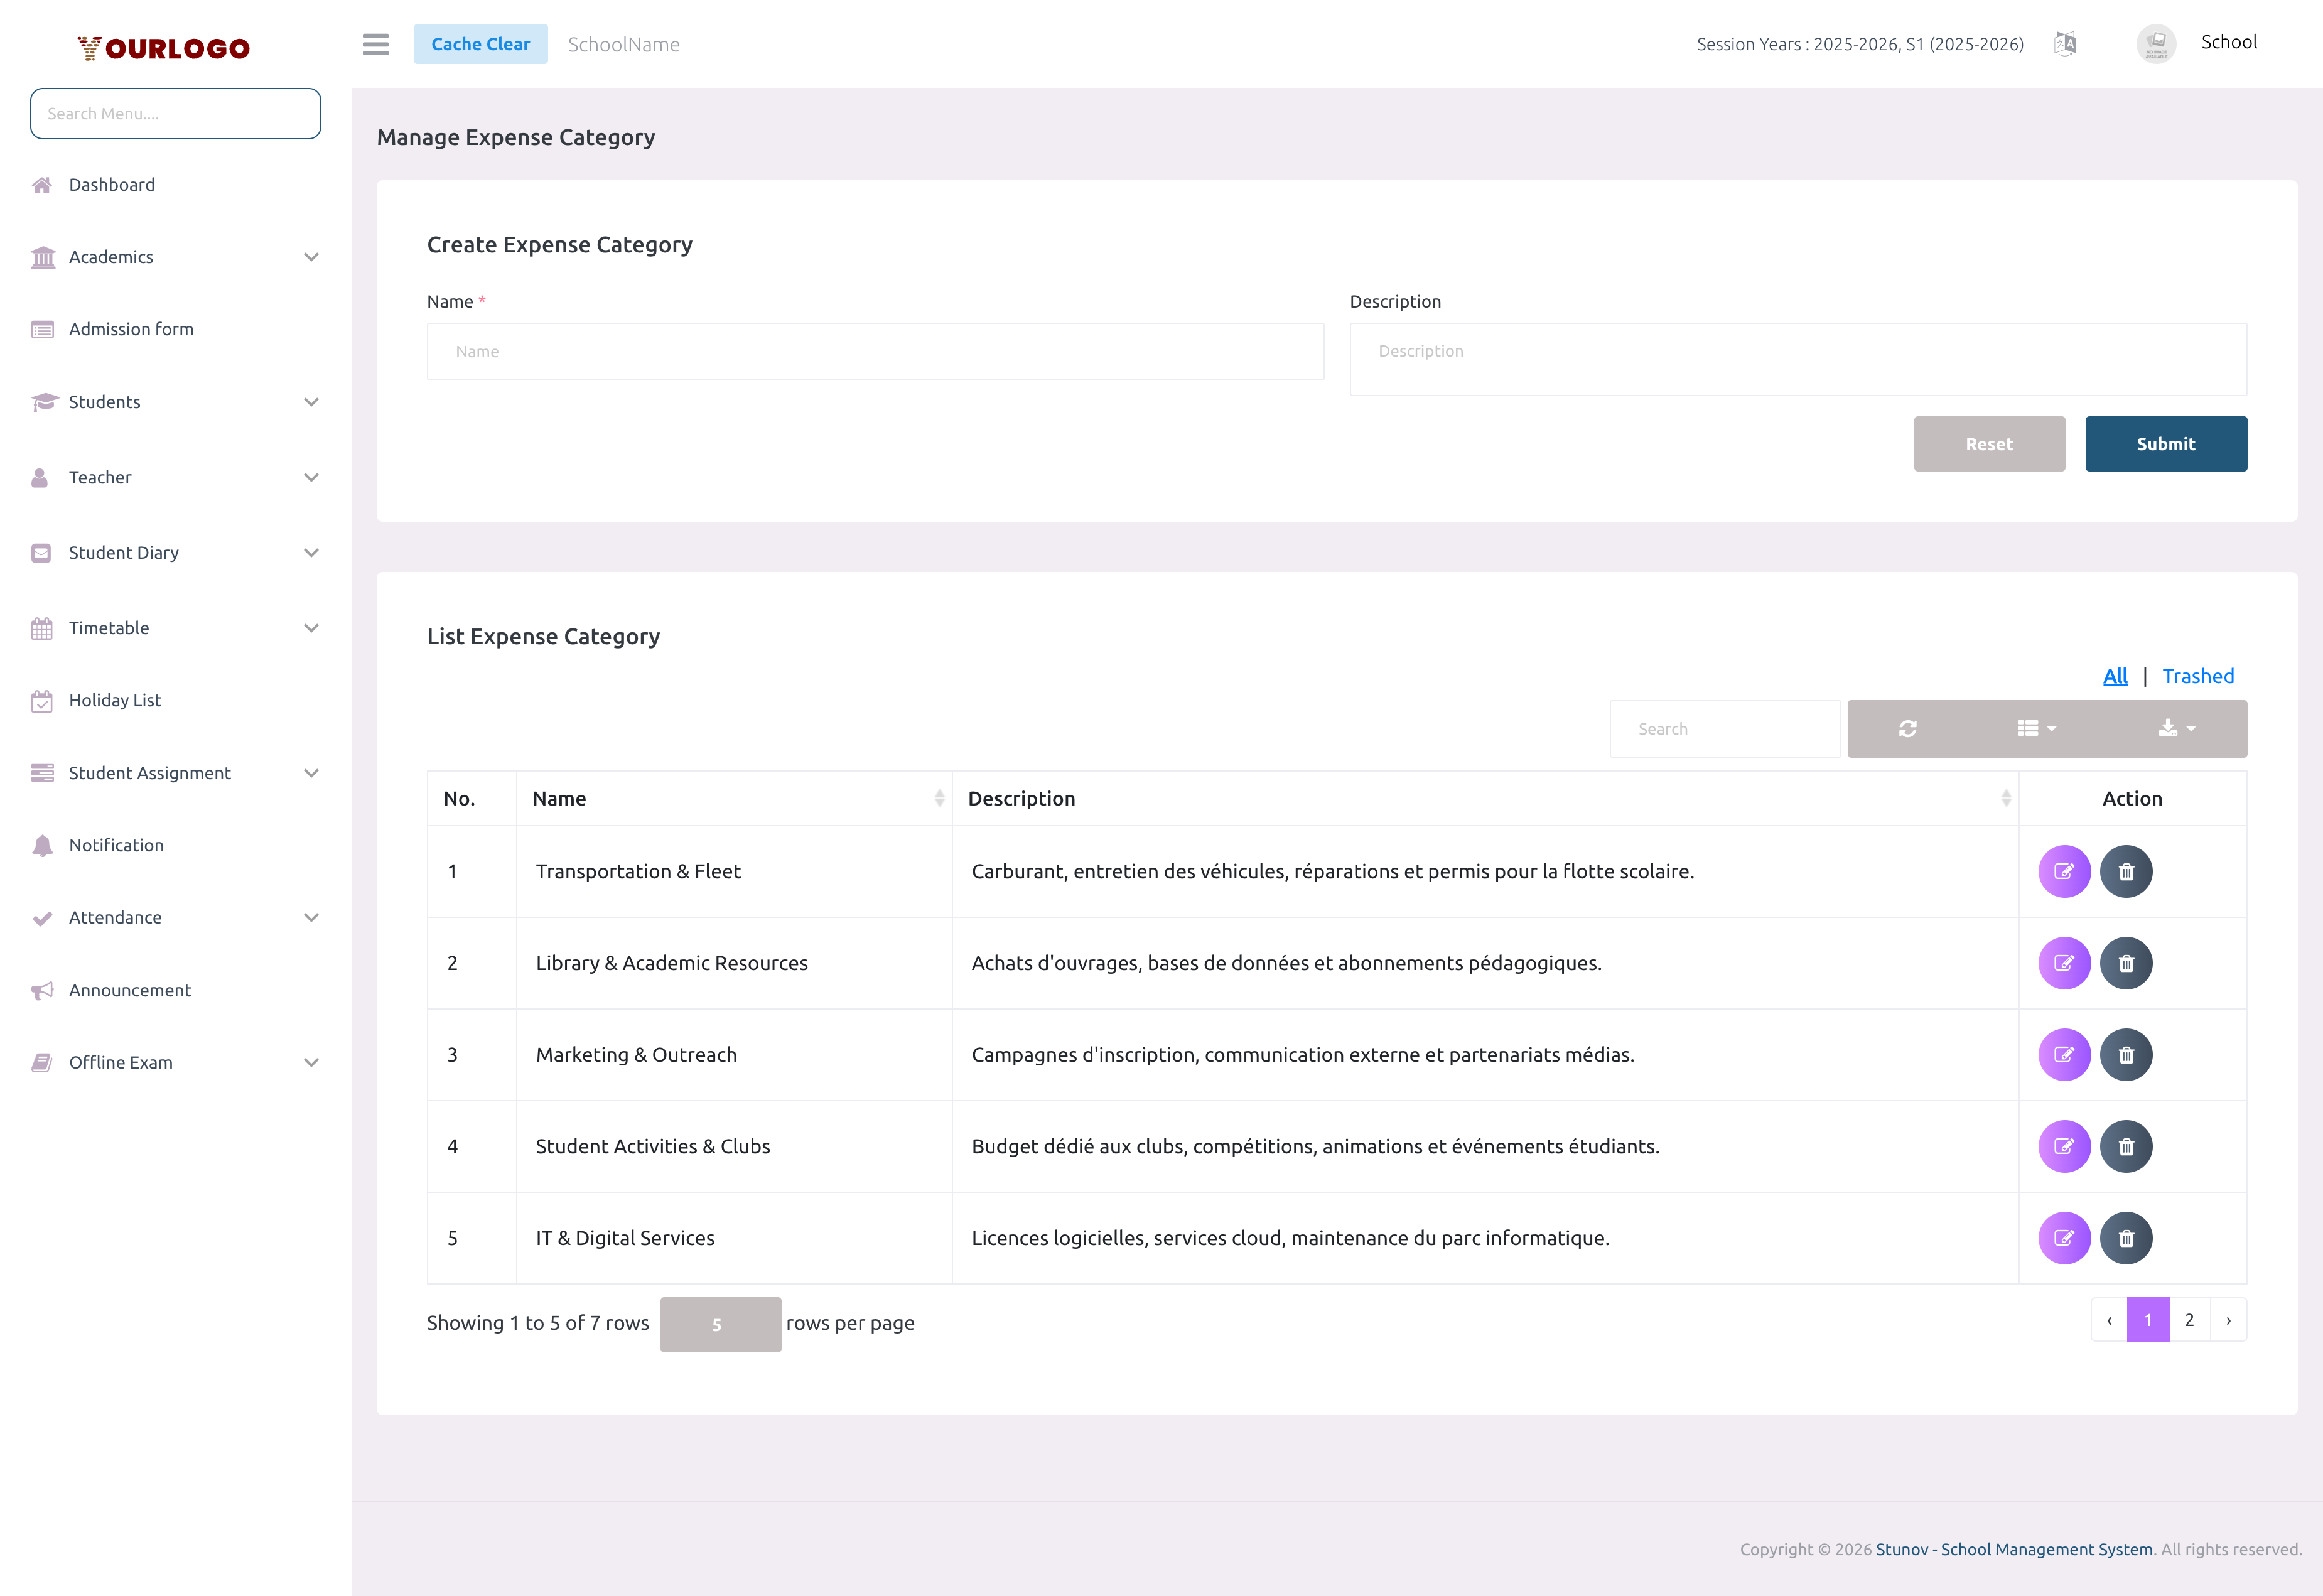
Create a Category
View Categories
The category list displays all categories in a searchable, sortable table with the following columns:
| Column | Description |
|---|---|
| No. | Row number |
| Name | Category name |
| Description | Category description |
| Action | Edit and Delete buttons |
- Use the search bar to filter categories by name or description
- Use the Show entries dropdown to control rows per page
- Click Export to download the category list as CSV/Excel
- Toggle between All and Trashed views to see active or deleted categories
Edit a Category
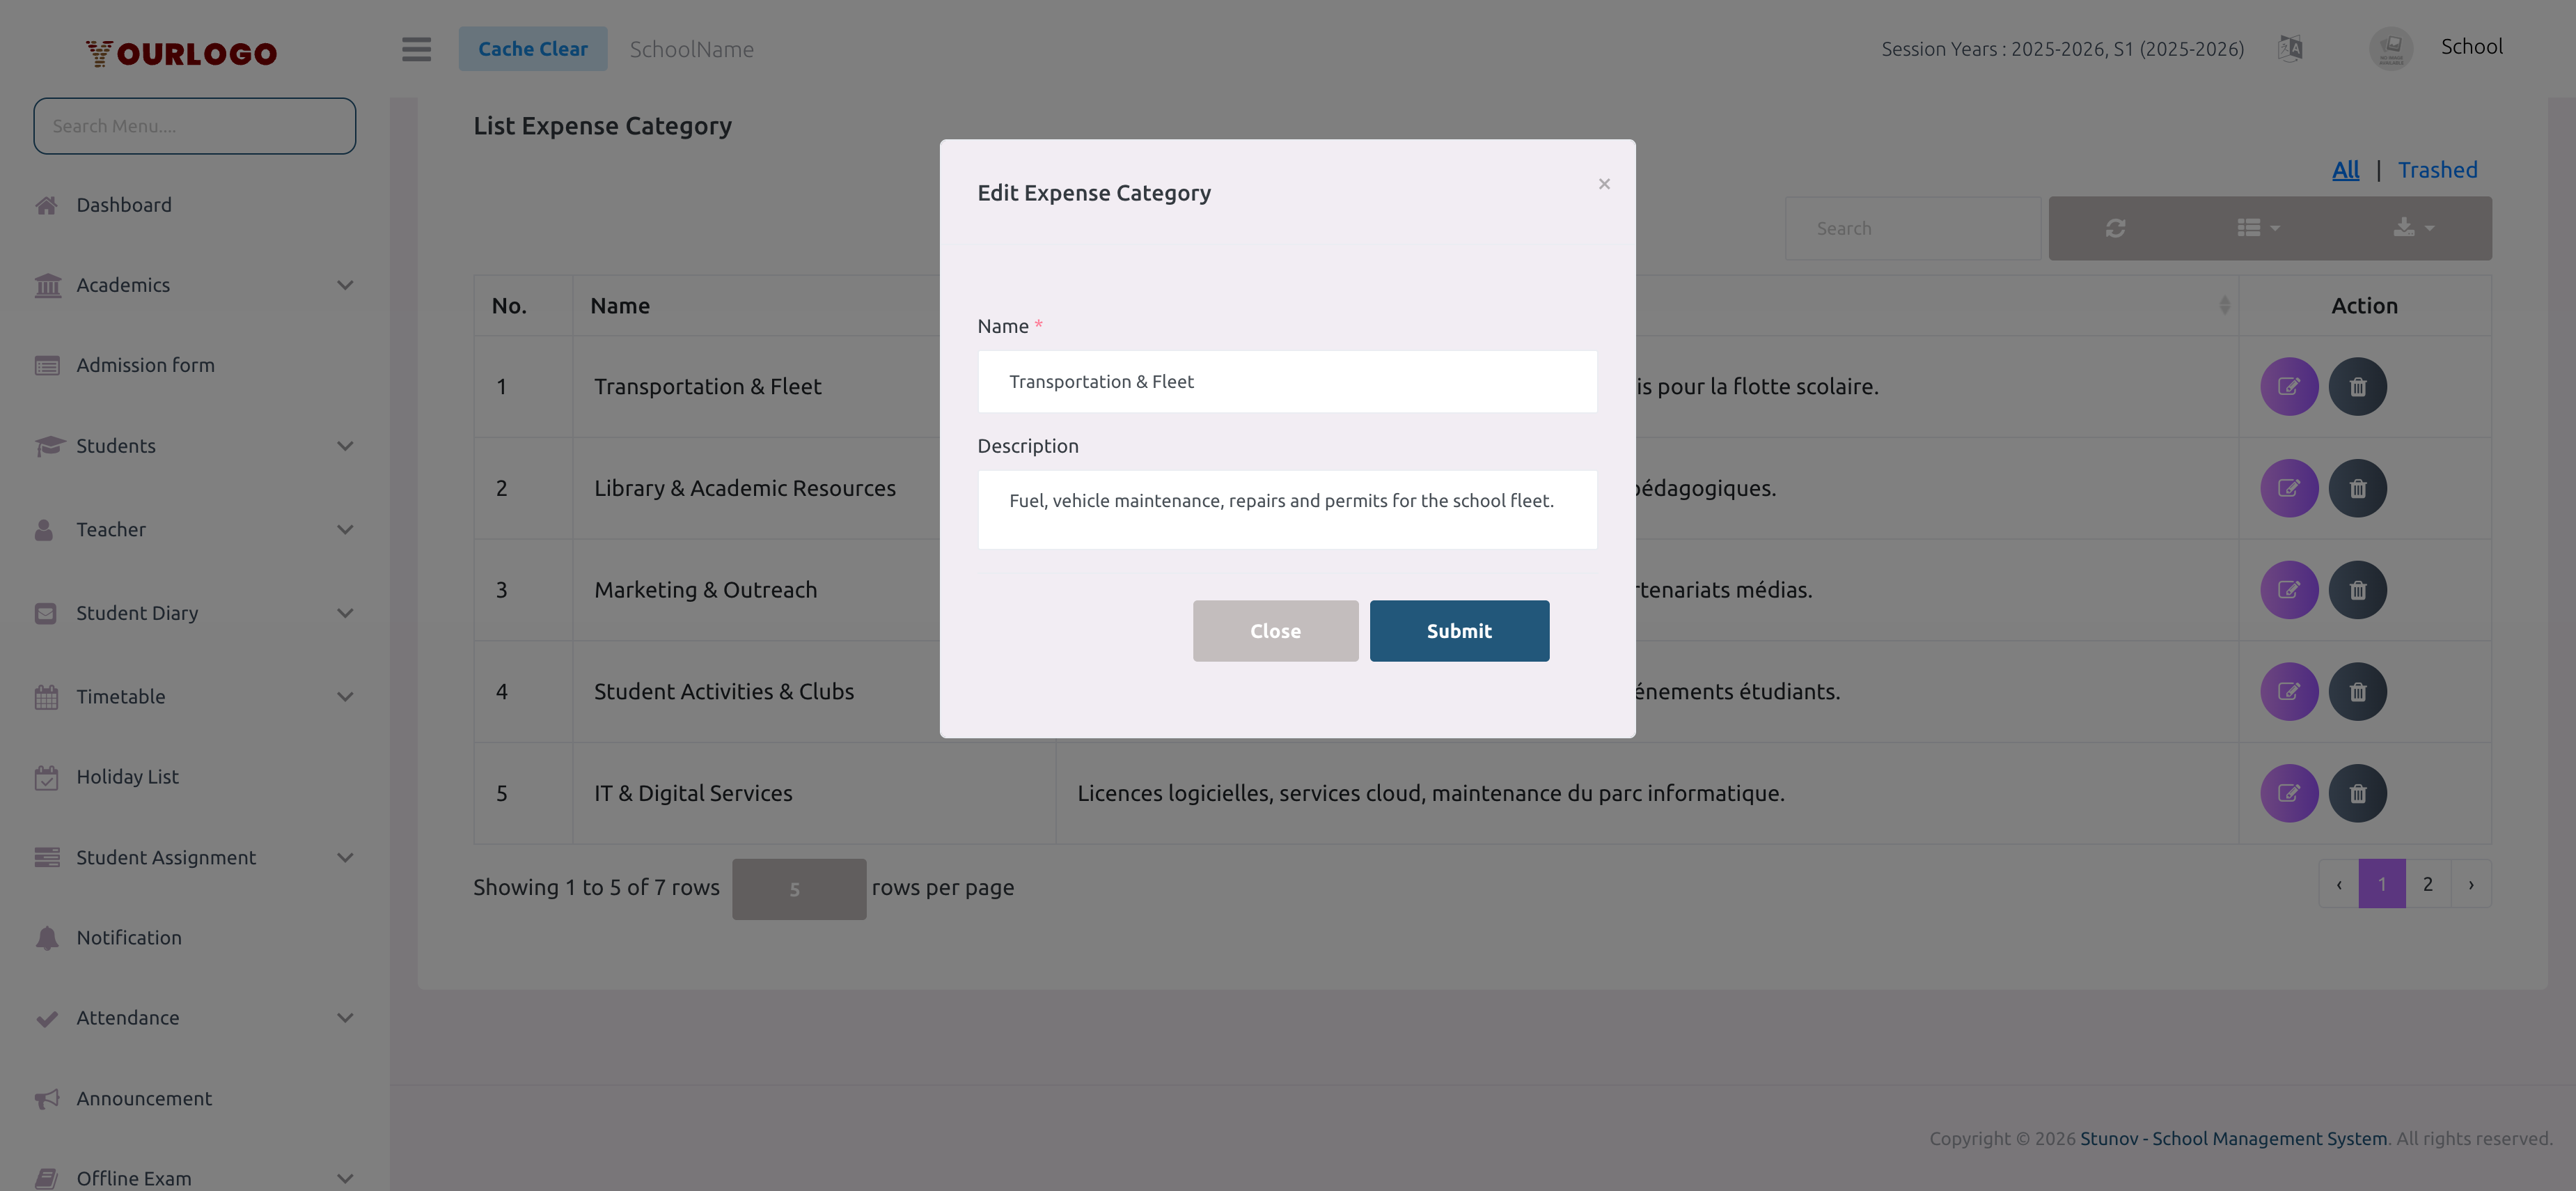
Changing a category name is reflected everywhere that category is referenced — including existing expense records and reports.
Delete a Category
If the category has expense records linked to it, the system will prevent deletion. Reassign or remove the linked expenses first.
Restore a Deleted Category
Deleted categories are soft-deleted and can be recovered:
- In the category list, click the Trashed tab to switch views
- Click Restore next to the deleted category
- The category returns to the active list
To permanently remove a category, use Force Delete from the Trashed view.
Related Pages
- Manage Expense — Record expenses using these categories
- Expense Report — View spending reports broken down by category