Manage Teacher
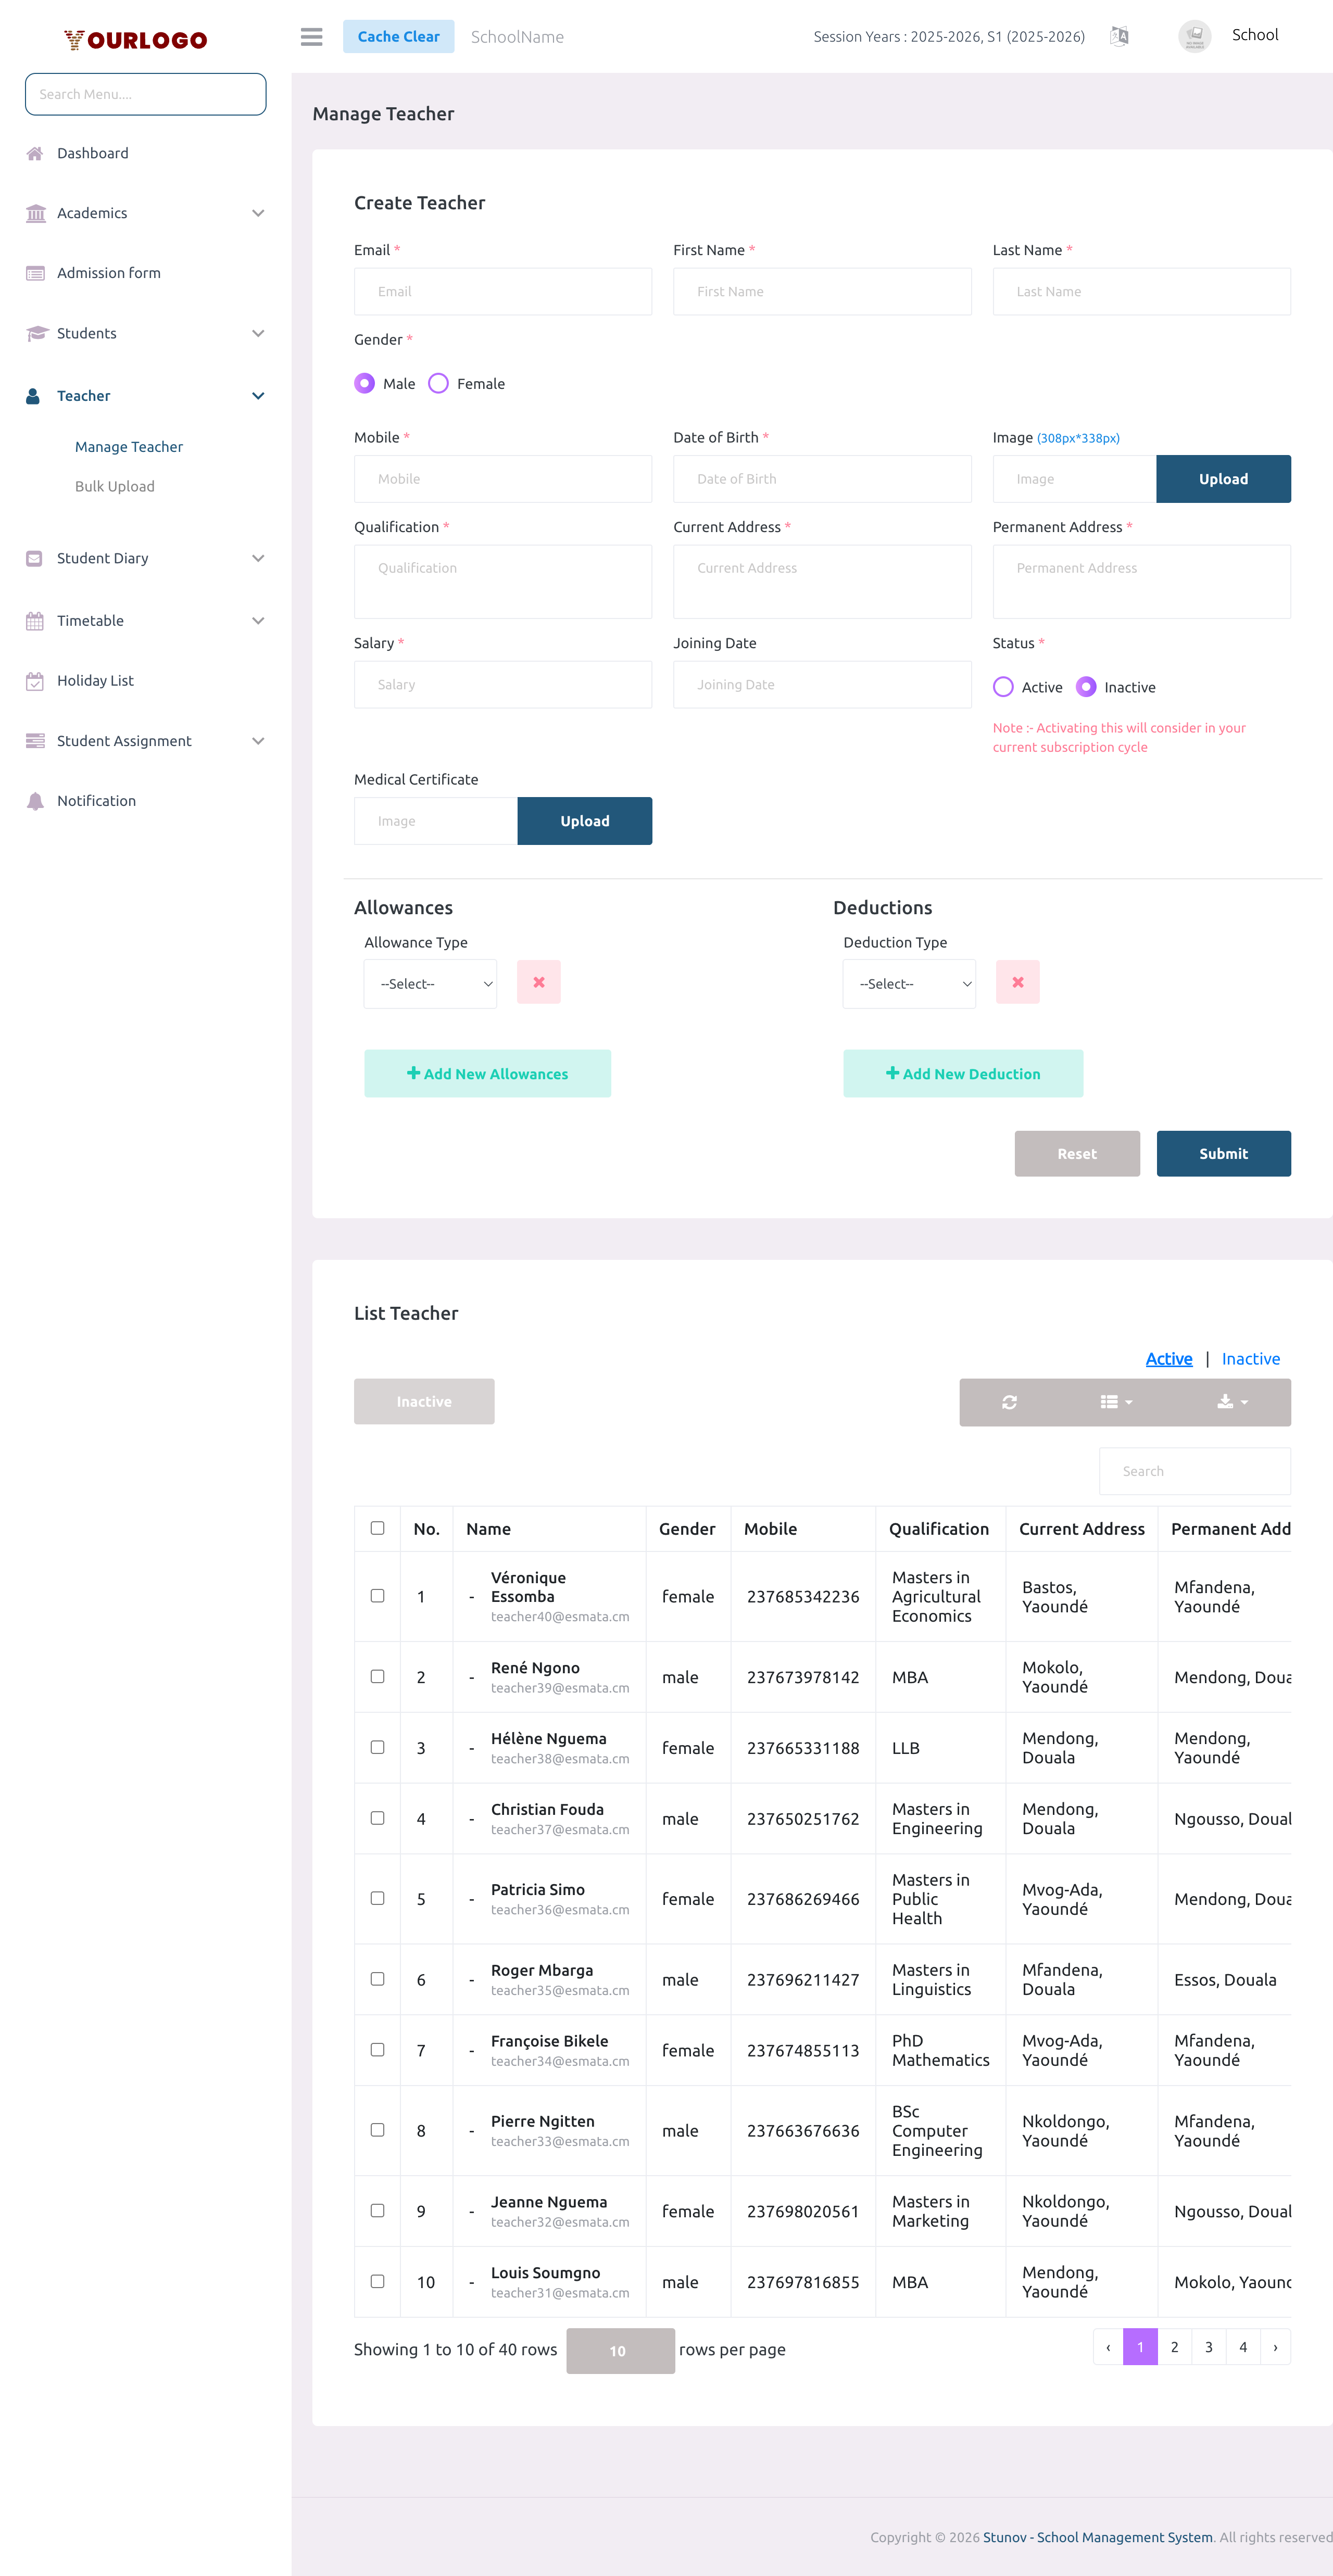
The Manage Teacher page is your central hub for adding and maintaining teacher records. Each teacher gets a user account with login credentials, personal details, qualifications, and a salary structure with configurable allowances and deductions.
When you create a teacher, the system uses the provided email as the login username and the mobile number becomes the default password. Teachers can change their password after first login.
Add a Teacher
Personal Information Fields
| Field | Type | Required | Description |
|---|---|---|---|
Email | Required | Unique email address — used as the login username | |
| First Name | Text | Required | Teacher's first name |
| Last Name | Text | Required | Teacher's last name |
| Gender | Radio | Required | Male or Female |
| Mobile | Number | Required | Mobile number (1–16 digits) — also used as the default password |
| Date of Birth | Date | Required | Teacher's date of birth |
| Image | File | Optional | Profile photo — recommended 308×338px (JPEG, PNG, JPG, SVG, GIF, WebP) |
| Qualification | Textarea | Required | Highest qualification (e.g., B.Ed, M.Sc, PhD) |
| Current Address | Textarea | Required | Current residential address |
| Permanent Address | Textarea | Required | Permanent residential address |
| Medical Certificate | File | Optional | Optional medical certificate document upload |
Professional & Salary Fields
| Field | Type | Required | Description |
|---|---|---|---|
| Salary | Number | Optional | Base monthly salary amount |
| Joining Date | Date | Optional | Date the teacher joined the school |
| Status | Radio | Required | Active (counts toward subscription limit) or Inactive (does not count; cannot log in) |
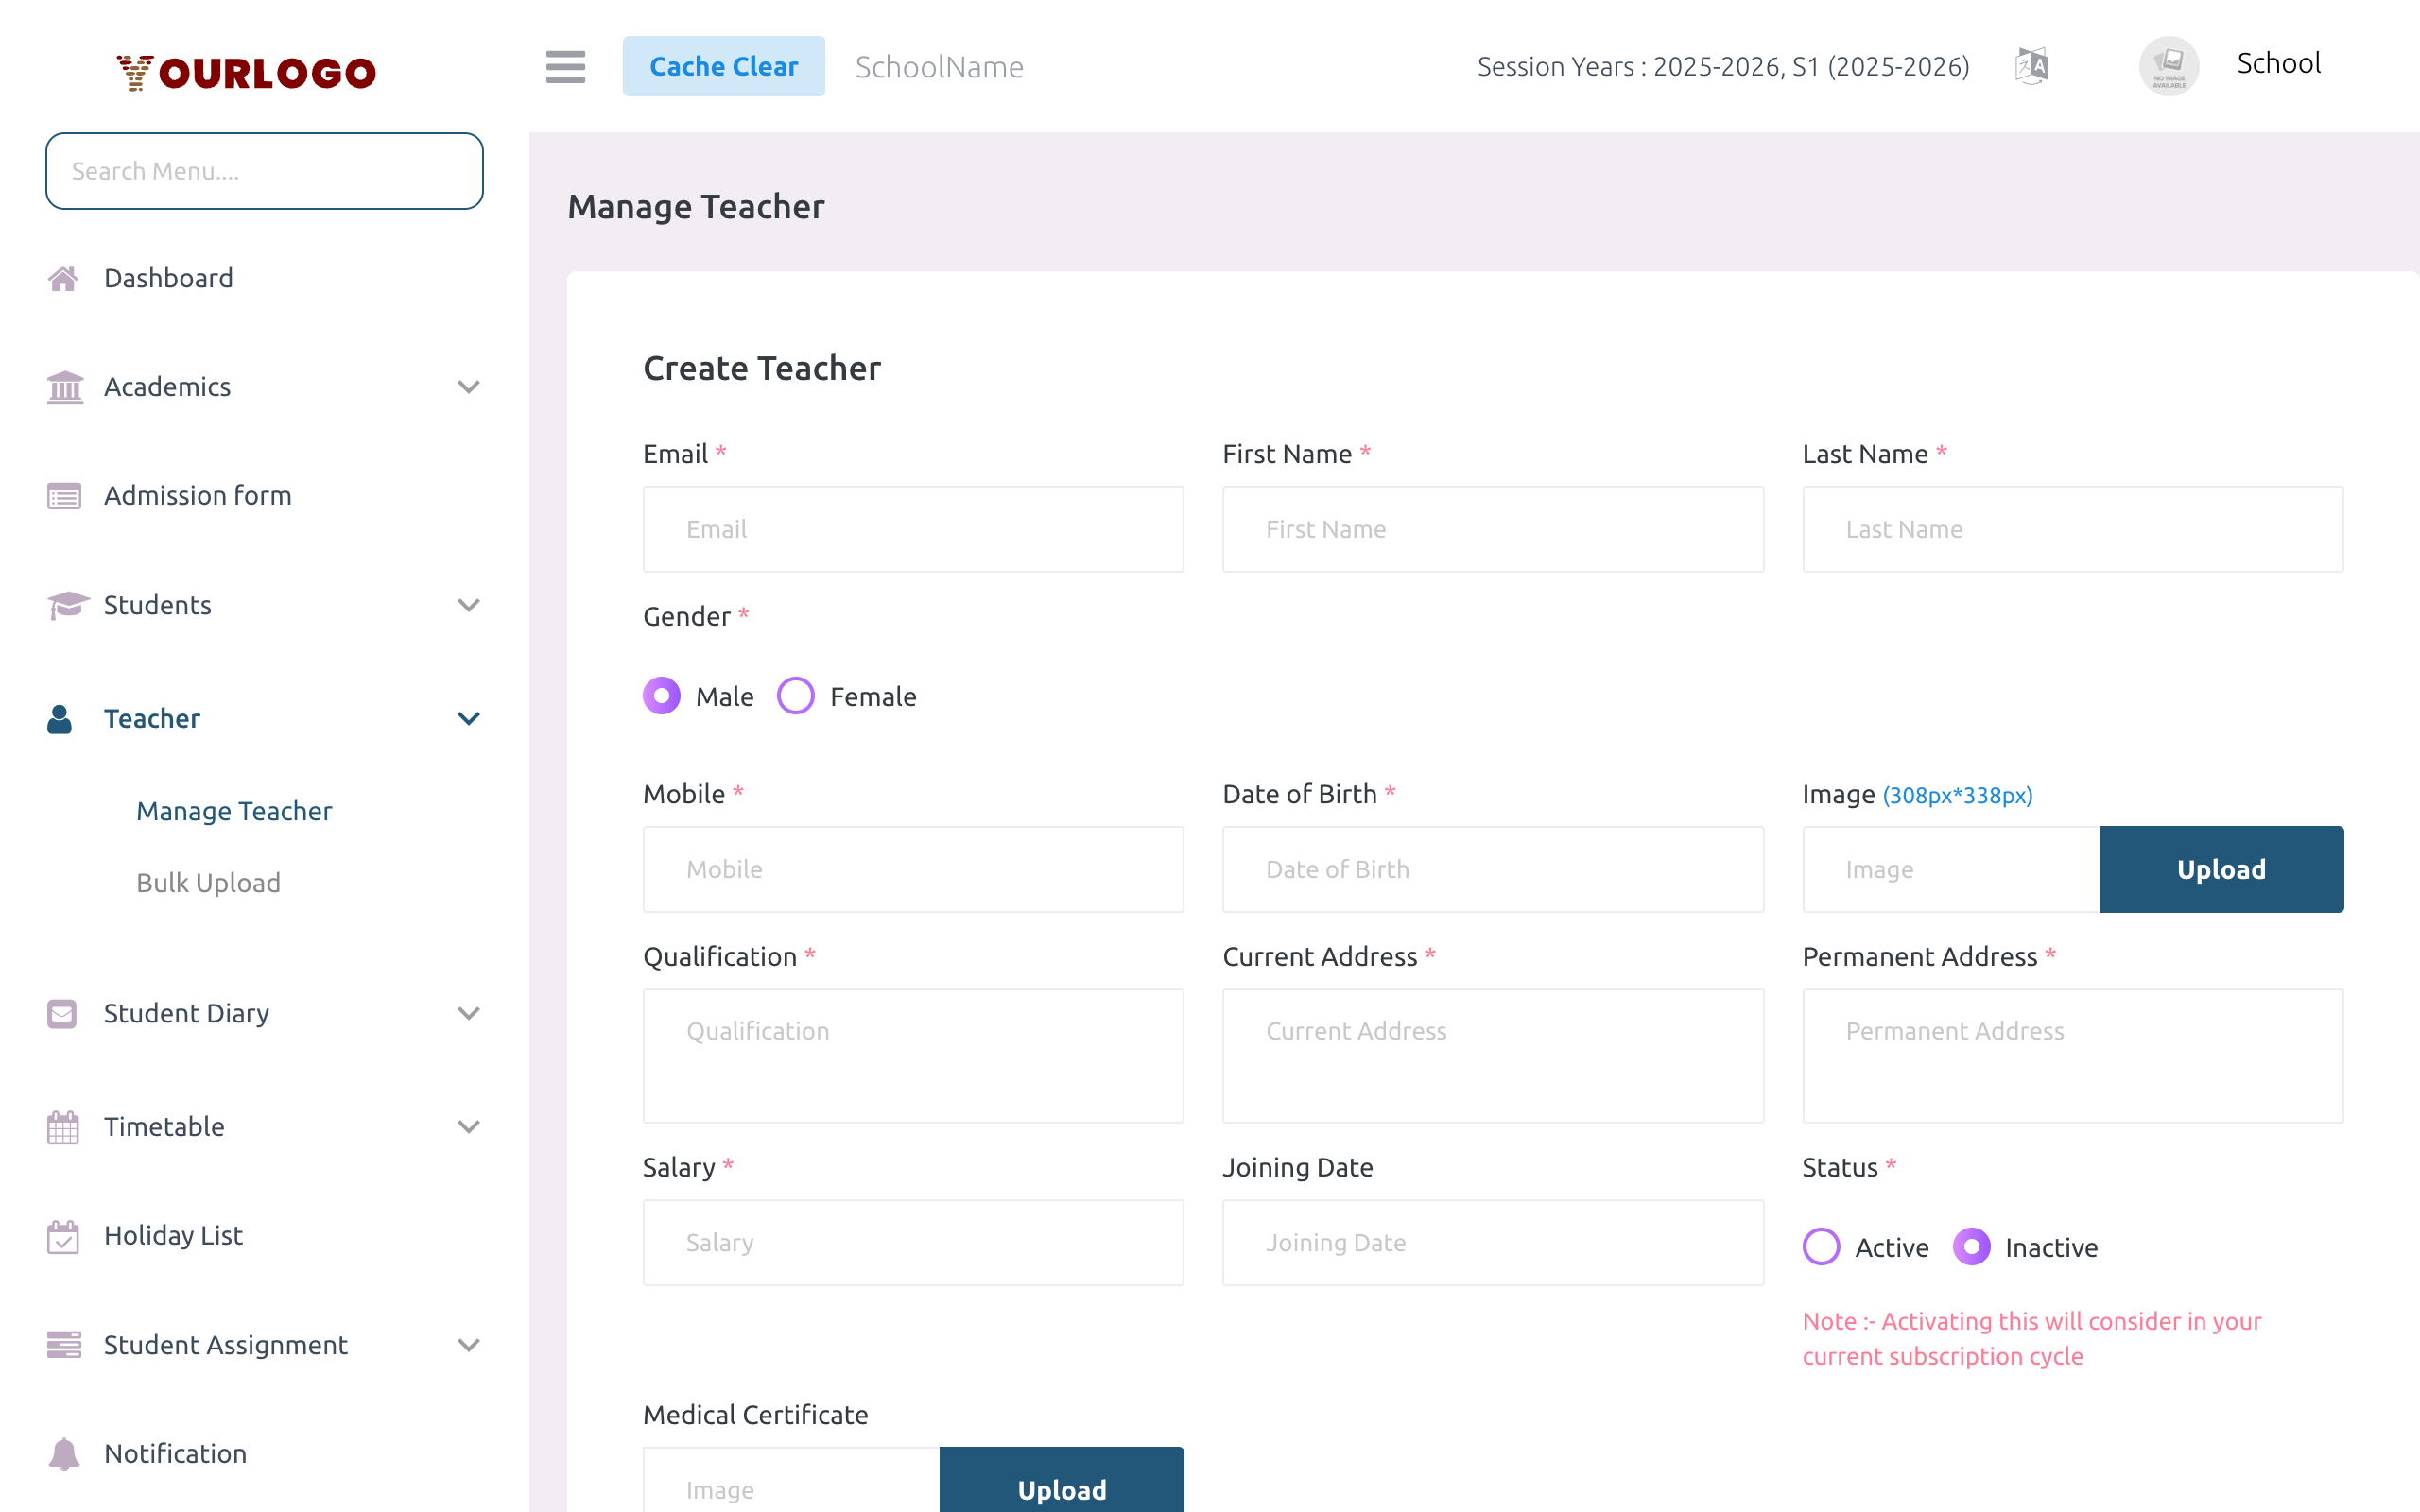
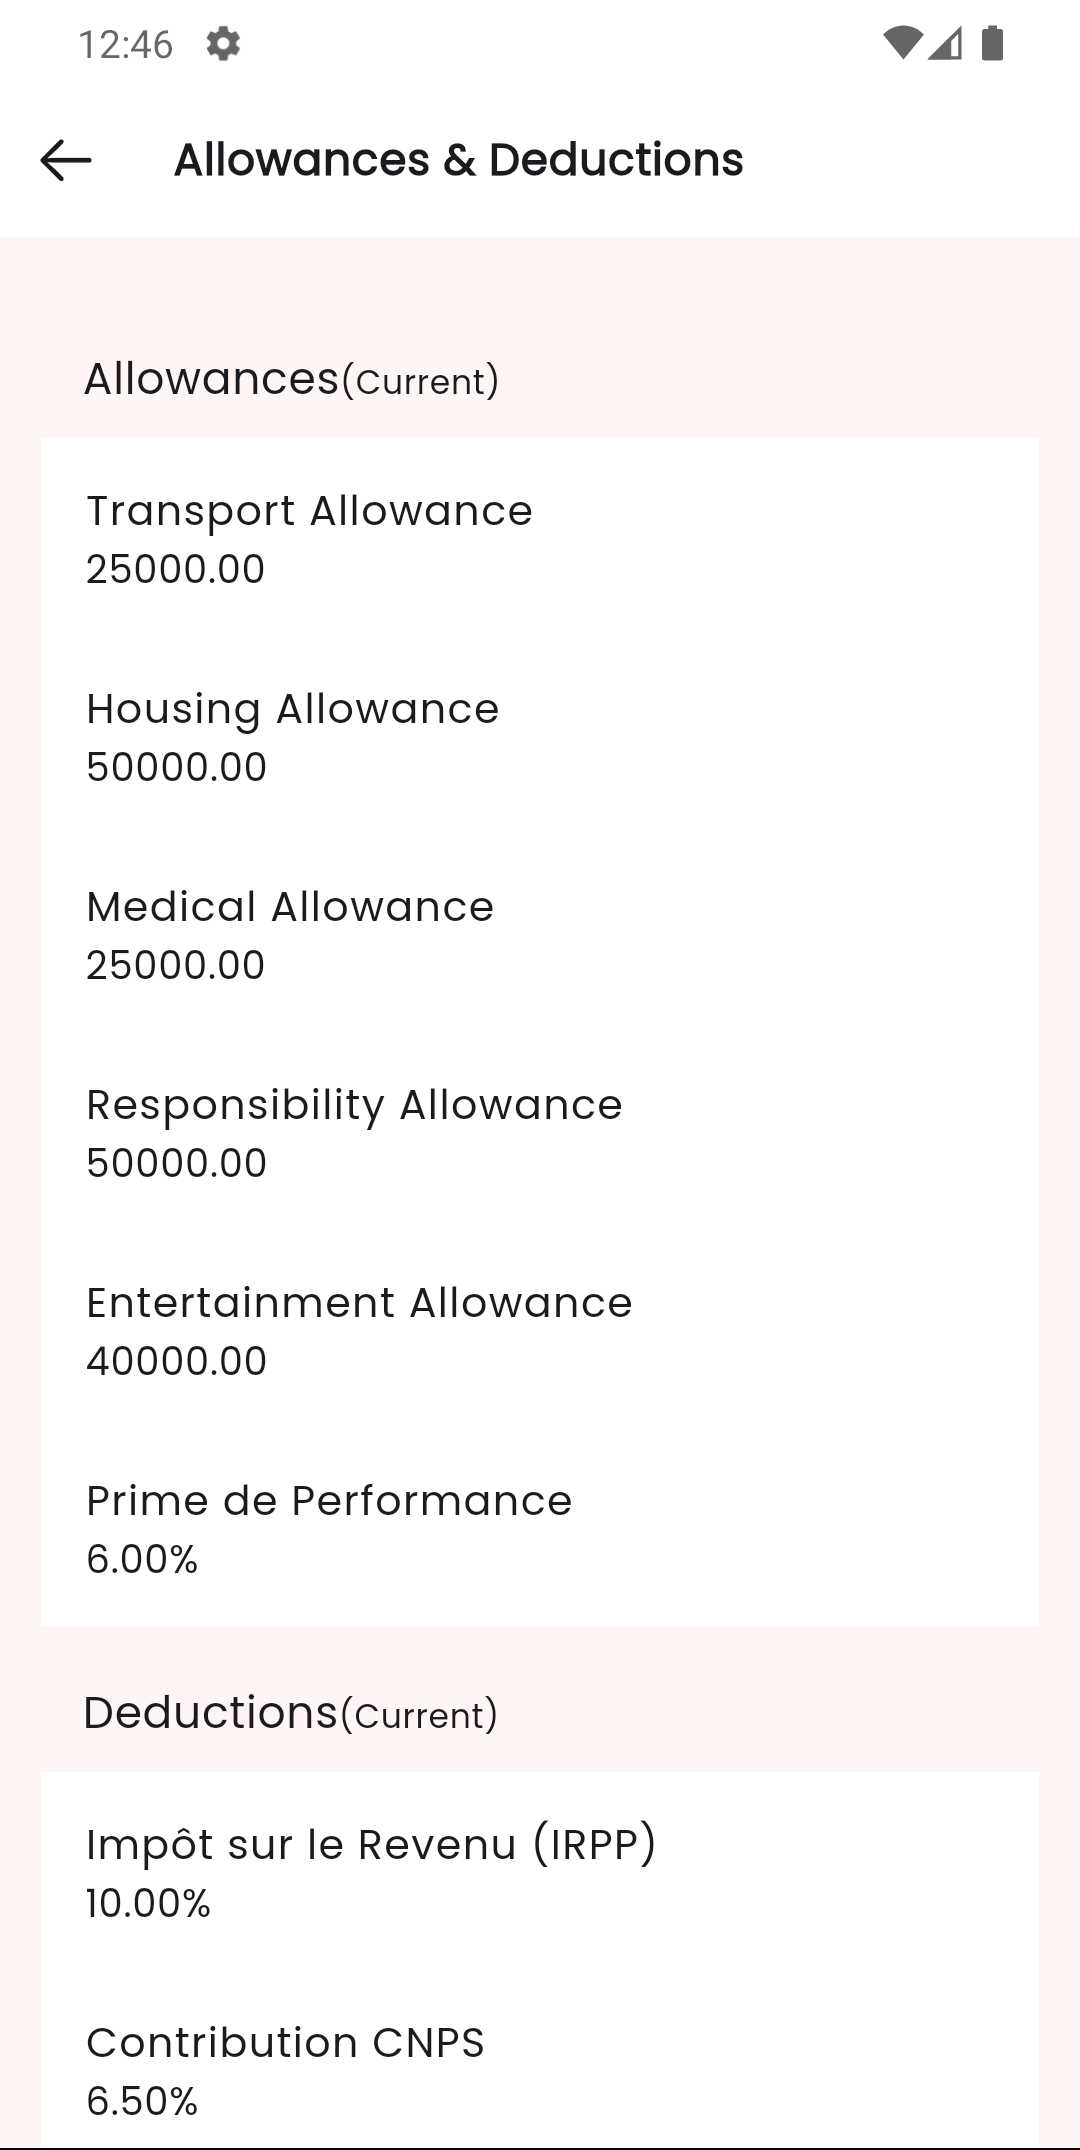
Allowance & Deduction Fields
If your school has configured Payroll Settings (under Finance & Accounting → Payroll → Payroll Setting), the teacher form displays dynamic allowance and deduction rows.
| Field | Type | Required | Description |
|---|---|---|---|
| Allowance Type | Select | Optional | Select from configured allowance types (e.g., Transport Allowance, Housing Allowance, Medical Allowance, Prime de Performance) |
| Amount | Number | Optional | Fixed allowance amount for this teacher |
| Percentage | Number | Optional | Percentage of base salary. Both amount and percentage can be set simultaneously. |
| Deduction Type | Select | Optional | Select from configured deduction types (e.g., IRPP, Contribution CNPS, Mutuelle Santé Complémentaire, Caisse d'Epargne) |
These fields only appear if you have defined payroll settings. Go to Finance & Accounting → Payroll → Payroll Setting to create allowance and deduction types first.
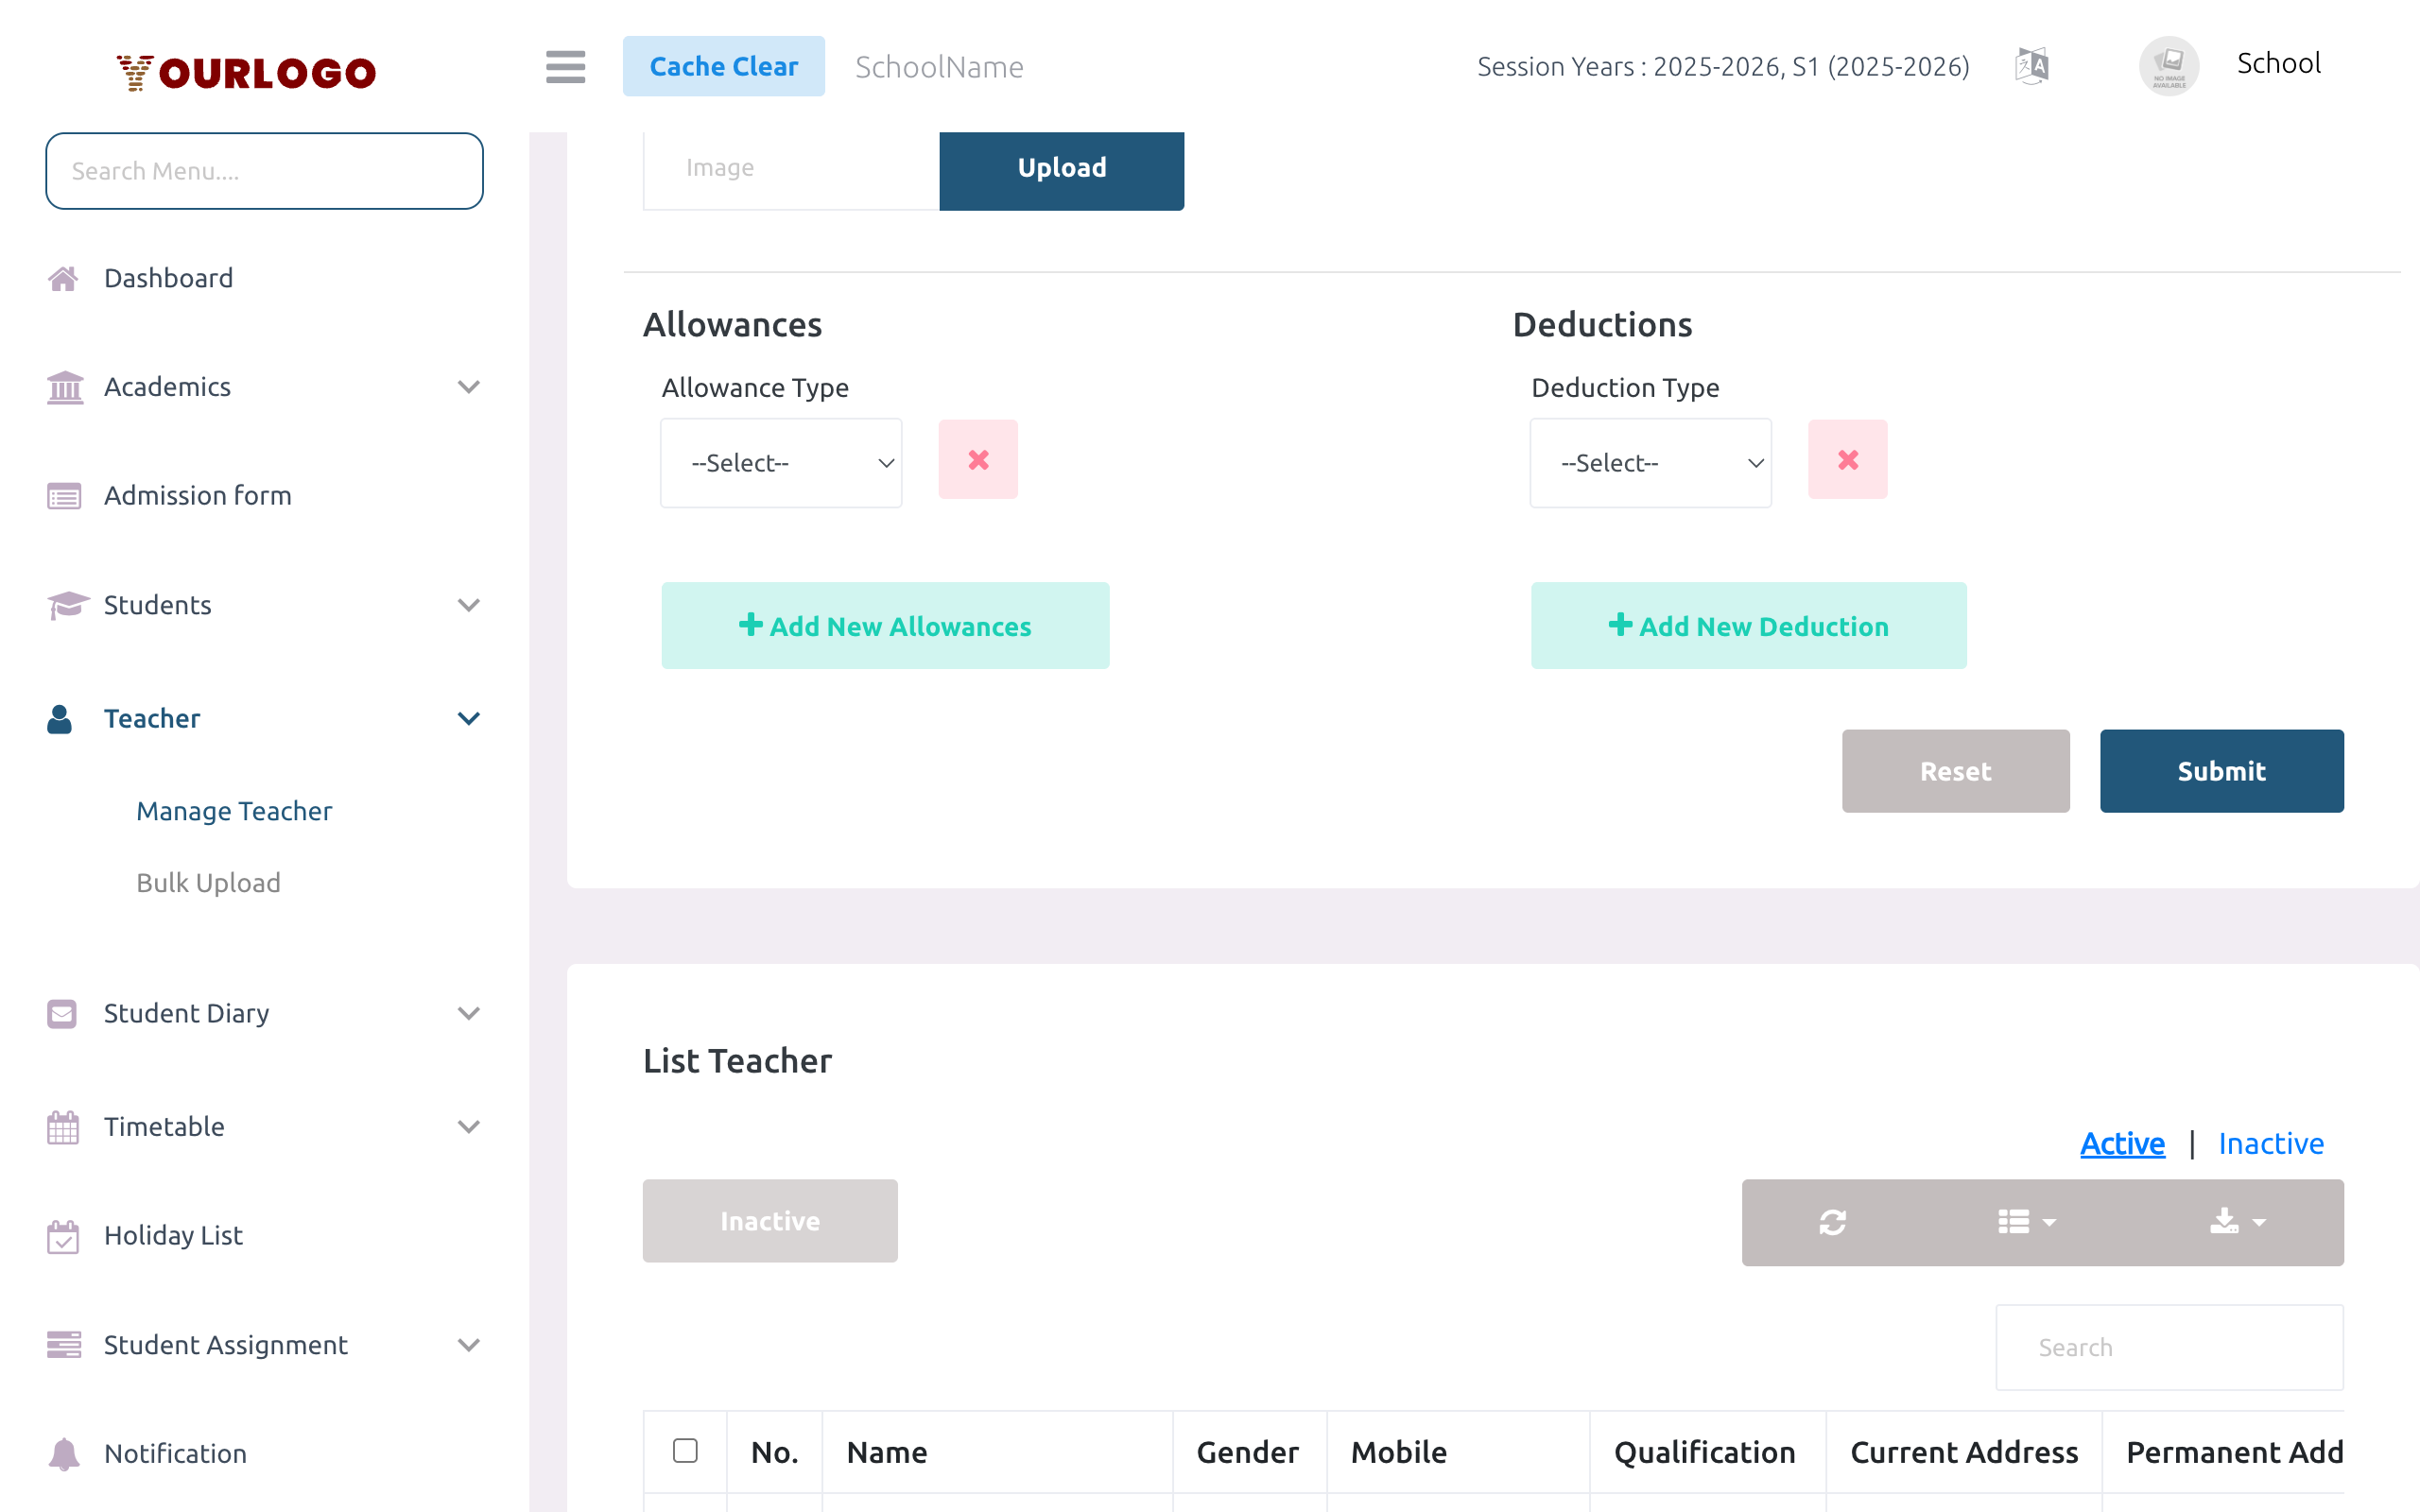
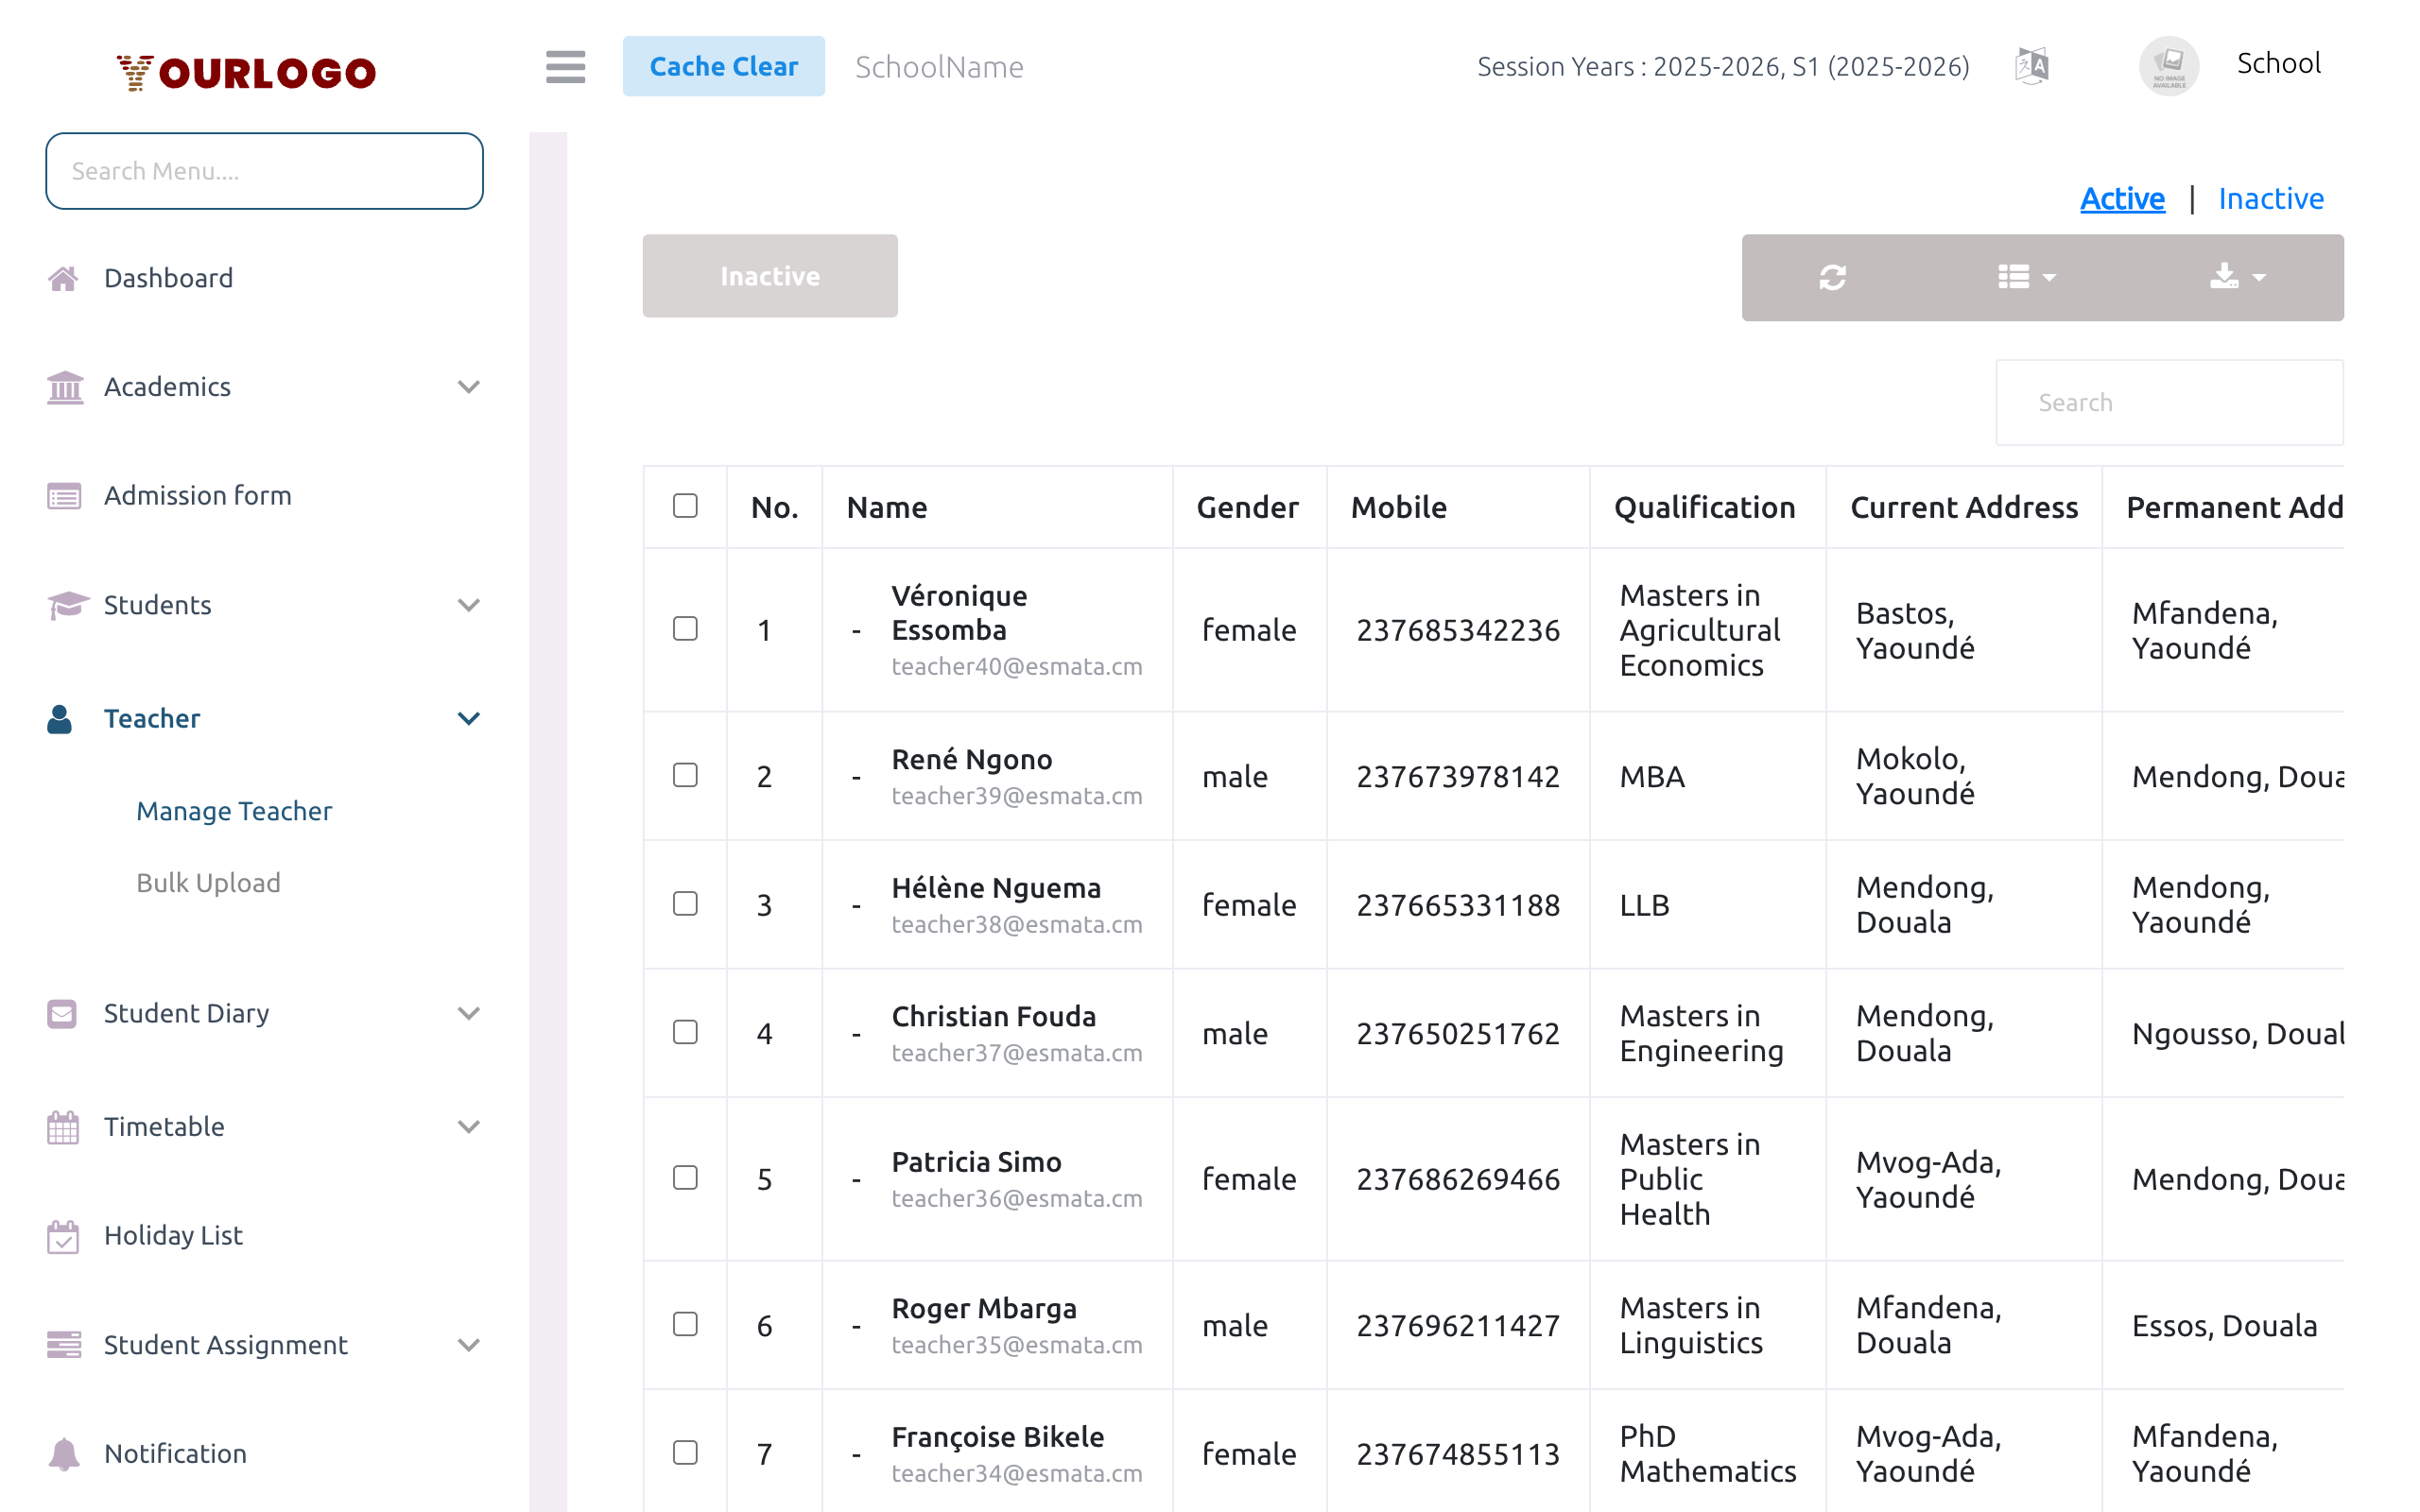
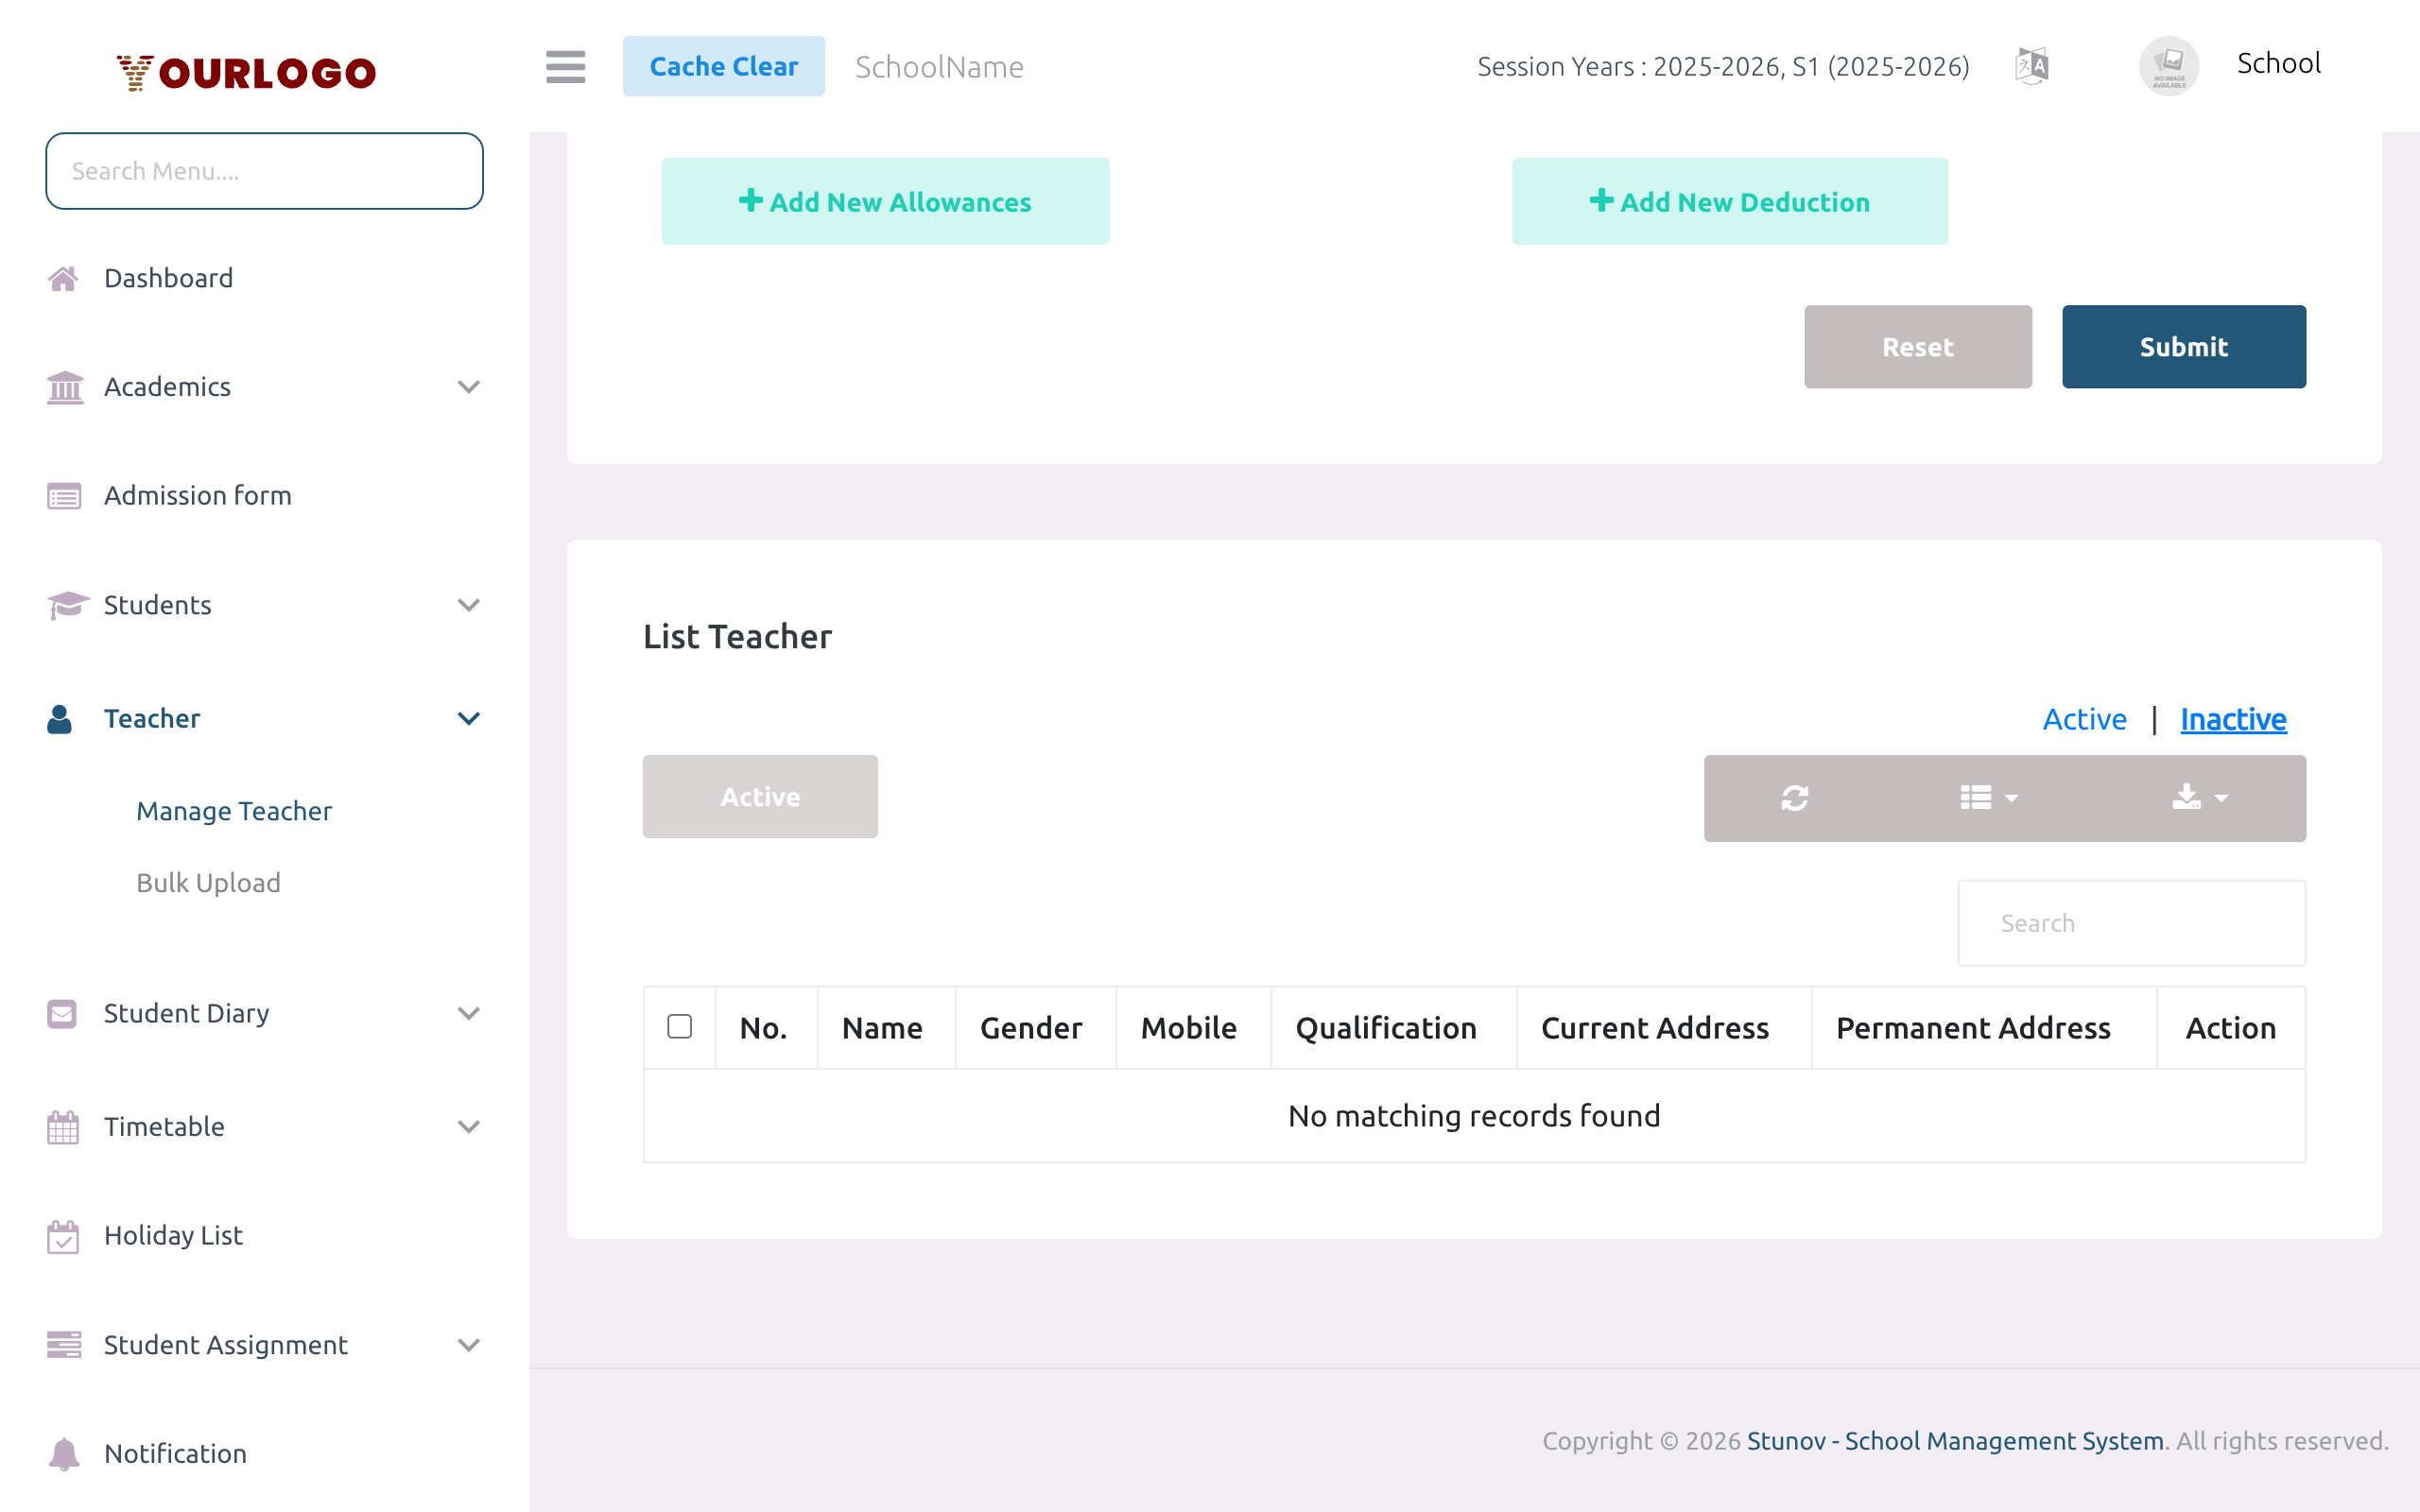
View Teachers
The teacher list (below the create form) shows all teachers in a searchable, paginated table. Use the Active / Inactive tabs to filter by status.
| Column | Description |
|---|---|
| No. | Row number |
| Name | Teacher's full name with email displayed below |
| Gender | Male or Female |
| Mobile | Phone number |
| Qualification | Highest qualification |
| Current Address | Current residential address |
| Permanent Address | Permanent residential address |
| Action | Dropdown button (⋮) with available actions |
List controls:
- Search box — filter teachers by name, mobile, or other fields
- Active / Inactive tabs — switch the list between active and inactive teachers
- Columns button — show/hide specific columns
- Export button — export the current filtered list to CSV/Excel
- Rows per page — adjust pagination (default: 10)
- Inactive button — bulk-deactivate selected teachers (select via checkboxes first)
Action Menu
Each teacher row has an action dropdown button (⋮). Click it to reveal all available actions:
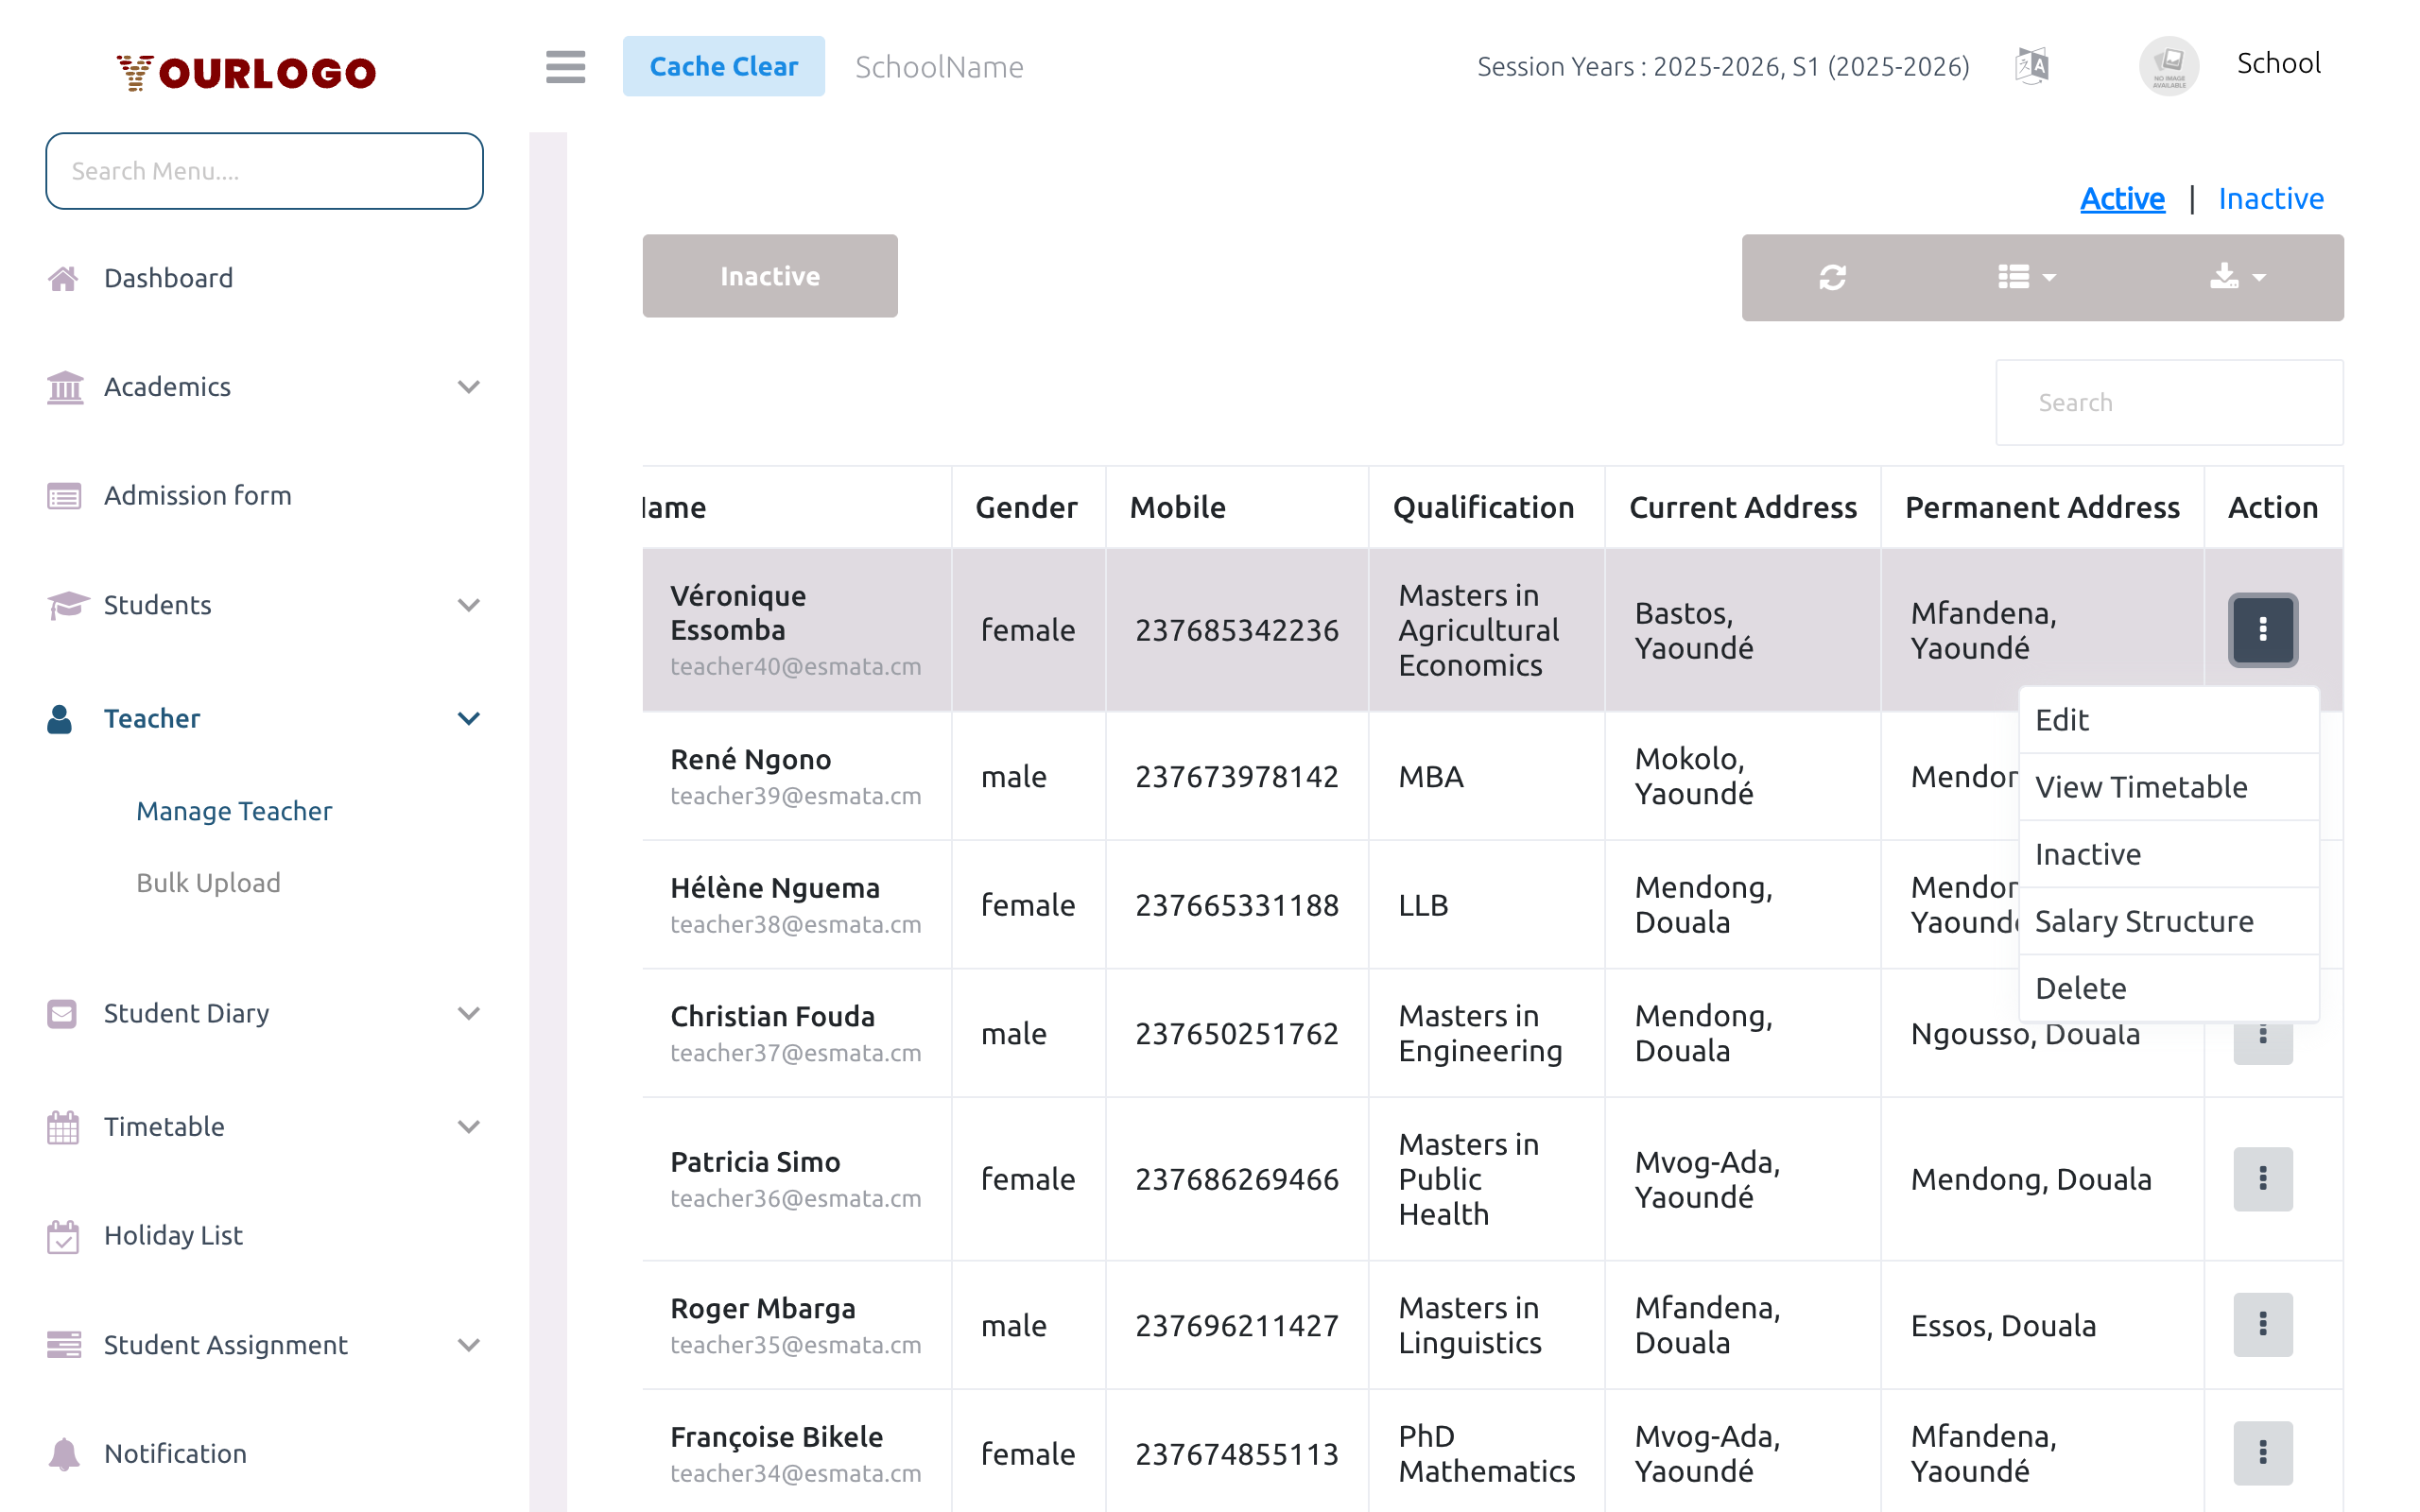
| Action | Description |
|---|---|
| Edit | Opens the edit form pre-filled with all teacher data at the top of the page |
| View Timetable | Navigates to the timetable page filtered for this teacher |
| Inactive / Active | Toggles the teacher's account status |
| Salary Structure | Opens the payroll structure page for this teacher |
| Delete | Permanently deletes the teacher record |
Edit a Teacher
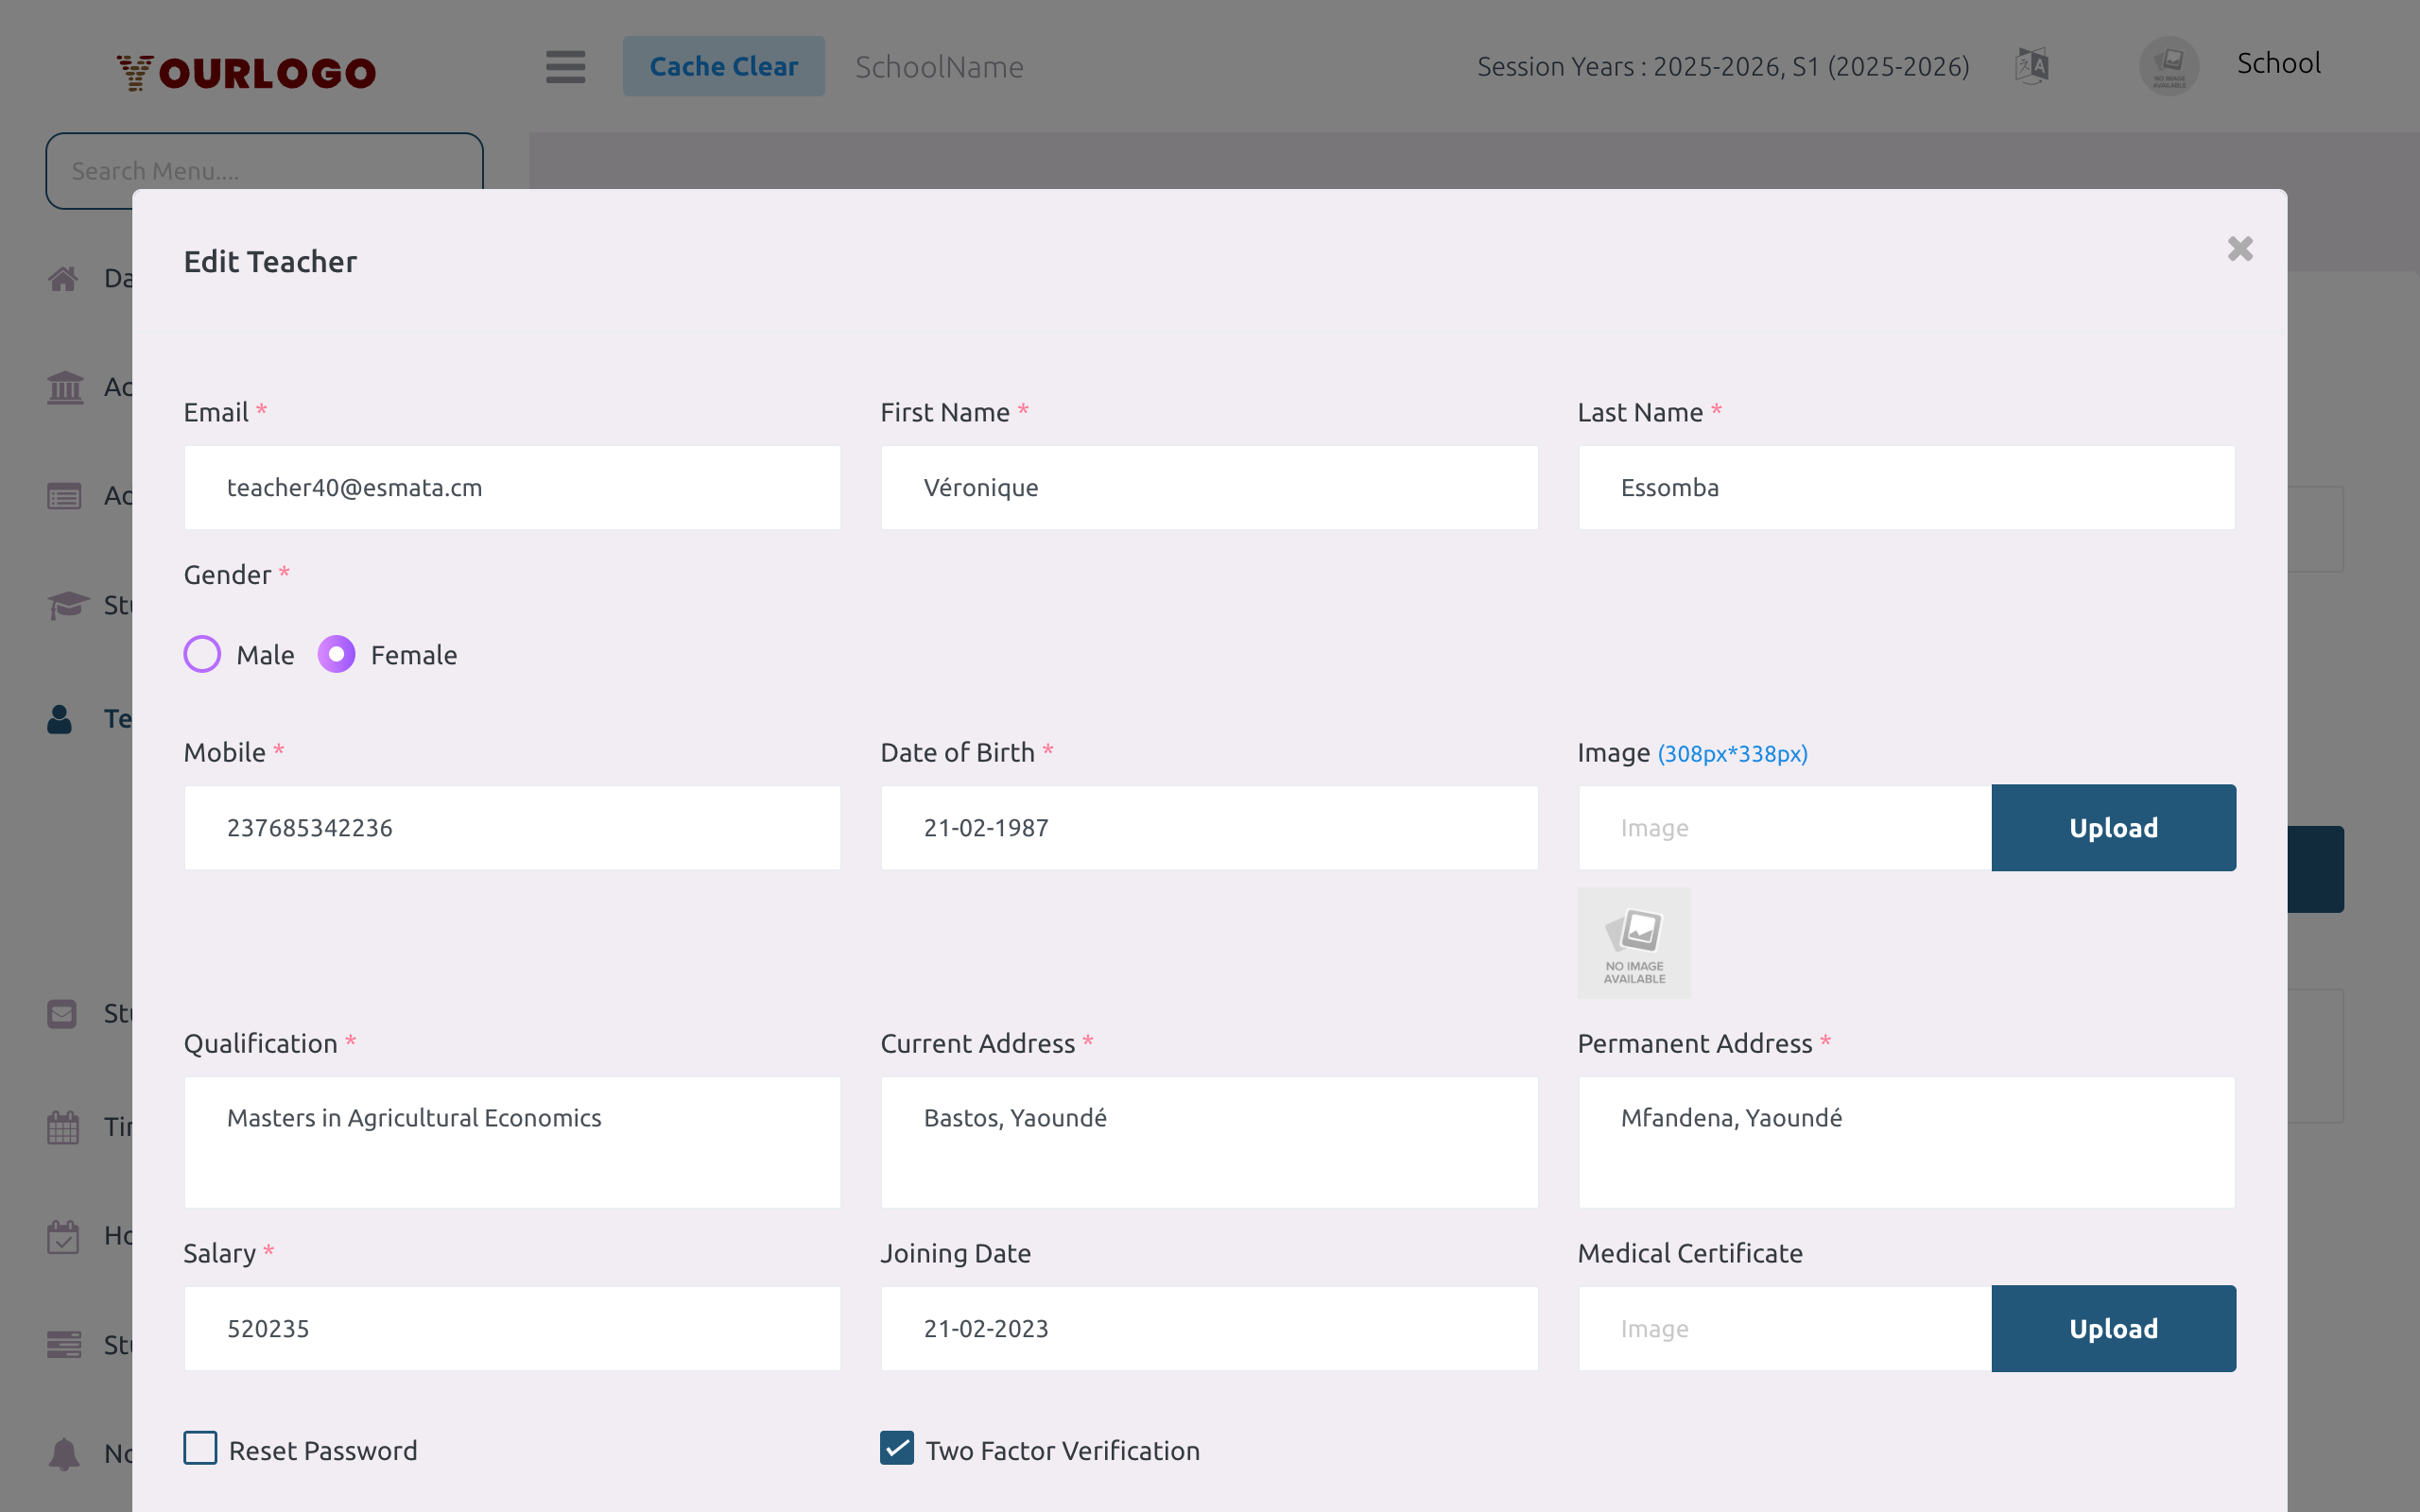
Additional Edit-Only Fields
| Field | Type | Required | Description |
|---|---|---|---|
| Reset Password | Checkbox | Optional | When checked, resets the teacher's password to their current mobile number |
| Two-Factor Verification | Toggle | Optional | Enable or disable email-based two-factor authentication for this teacher |
Activate / Deactivate a Teacher
Teachers can be toggled between Active and Inactive status. Inactive teachers cannot log in and are excluded from assignment, timetable, and attendance screens.
When activating a teacher, the system checks your subscription plan's staff limit. If you have reached the maximum allowed staff members, activation will be blocked with the message "You have reached your staff limit". Upgrade your subscription or deactivate unused accounts to free up slots.
Bulk Status Change
You can activate or deactivate multiple teachers at once:
- Select teachers using the checkboxes in the list
- Click the Change Status bulk action button
- Confirm the action — all selected teachers will be toggled
Delete a Teacher
Deleting a teacher is permanent and cannot be undone. All associated data (subject assignments, timetable slots, attendance records linked to this teacher) may be affected. Consider deactivating the teacher instead if you want to preserve historical data.
Salary Structure
For any teacher, you can review their detailed payroll structure directly from the action menu:
Staff App View
Teachers use the Stunov+ Staff mobile app to access their own profile, allowances, timetable, assignments, and payroll slips. The admin manages teacher accounts from the web panel; teachers operate from the mobile app for day-to-day tasks.
Related Pages
- Bulk Upload — Import multiple teachers via CSV
- Class Section & Teachers — Assign teachers to class sections and subjects
- Payroll Setting — Configure allowance and deduction types
- Staff Management — Manage non-teaching staff
- Custom Fields — Add extra form fields for teacher registration