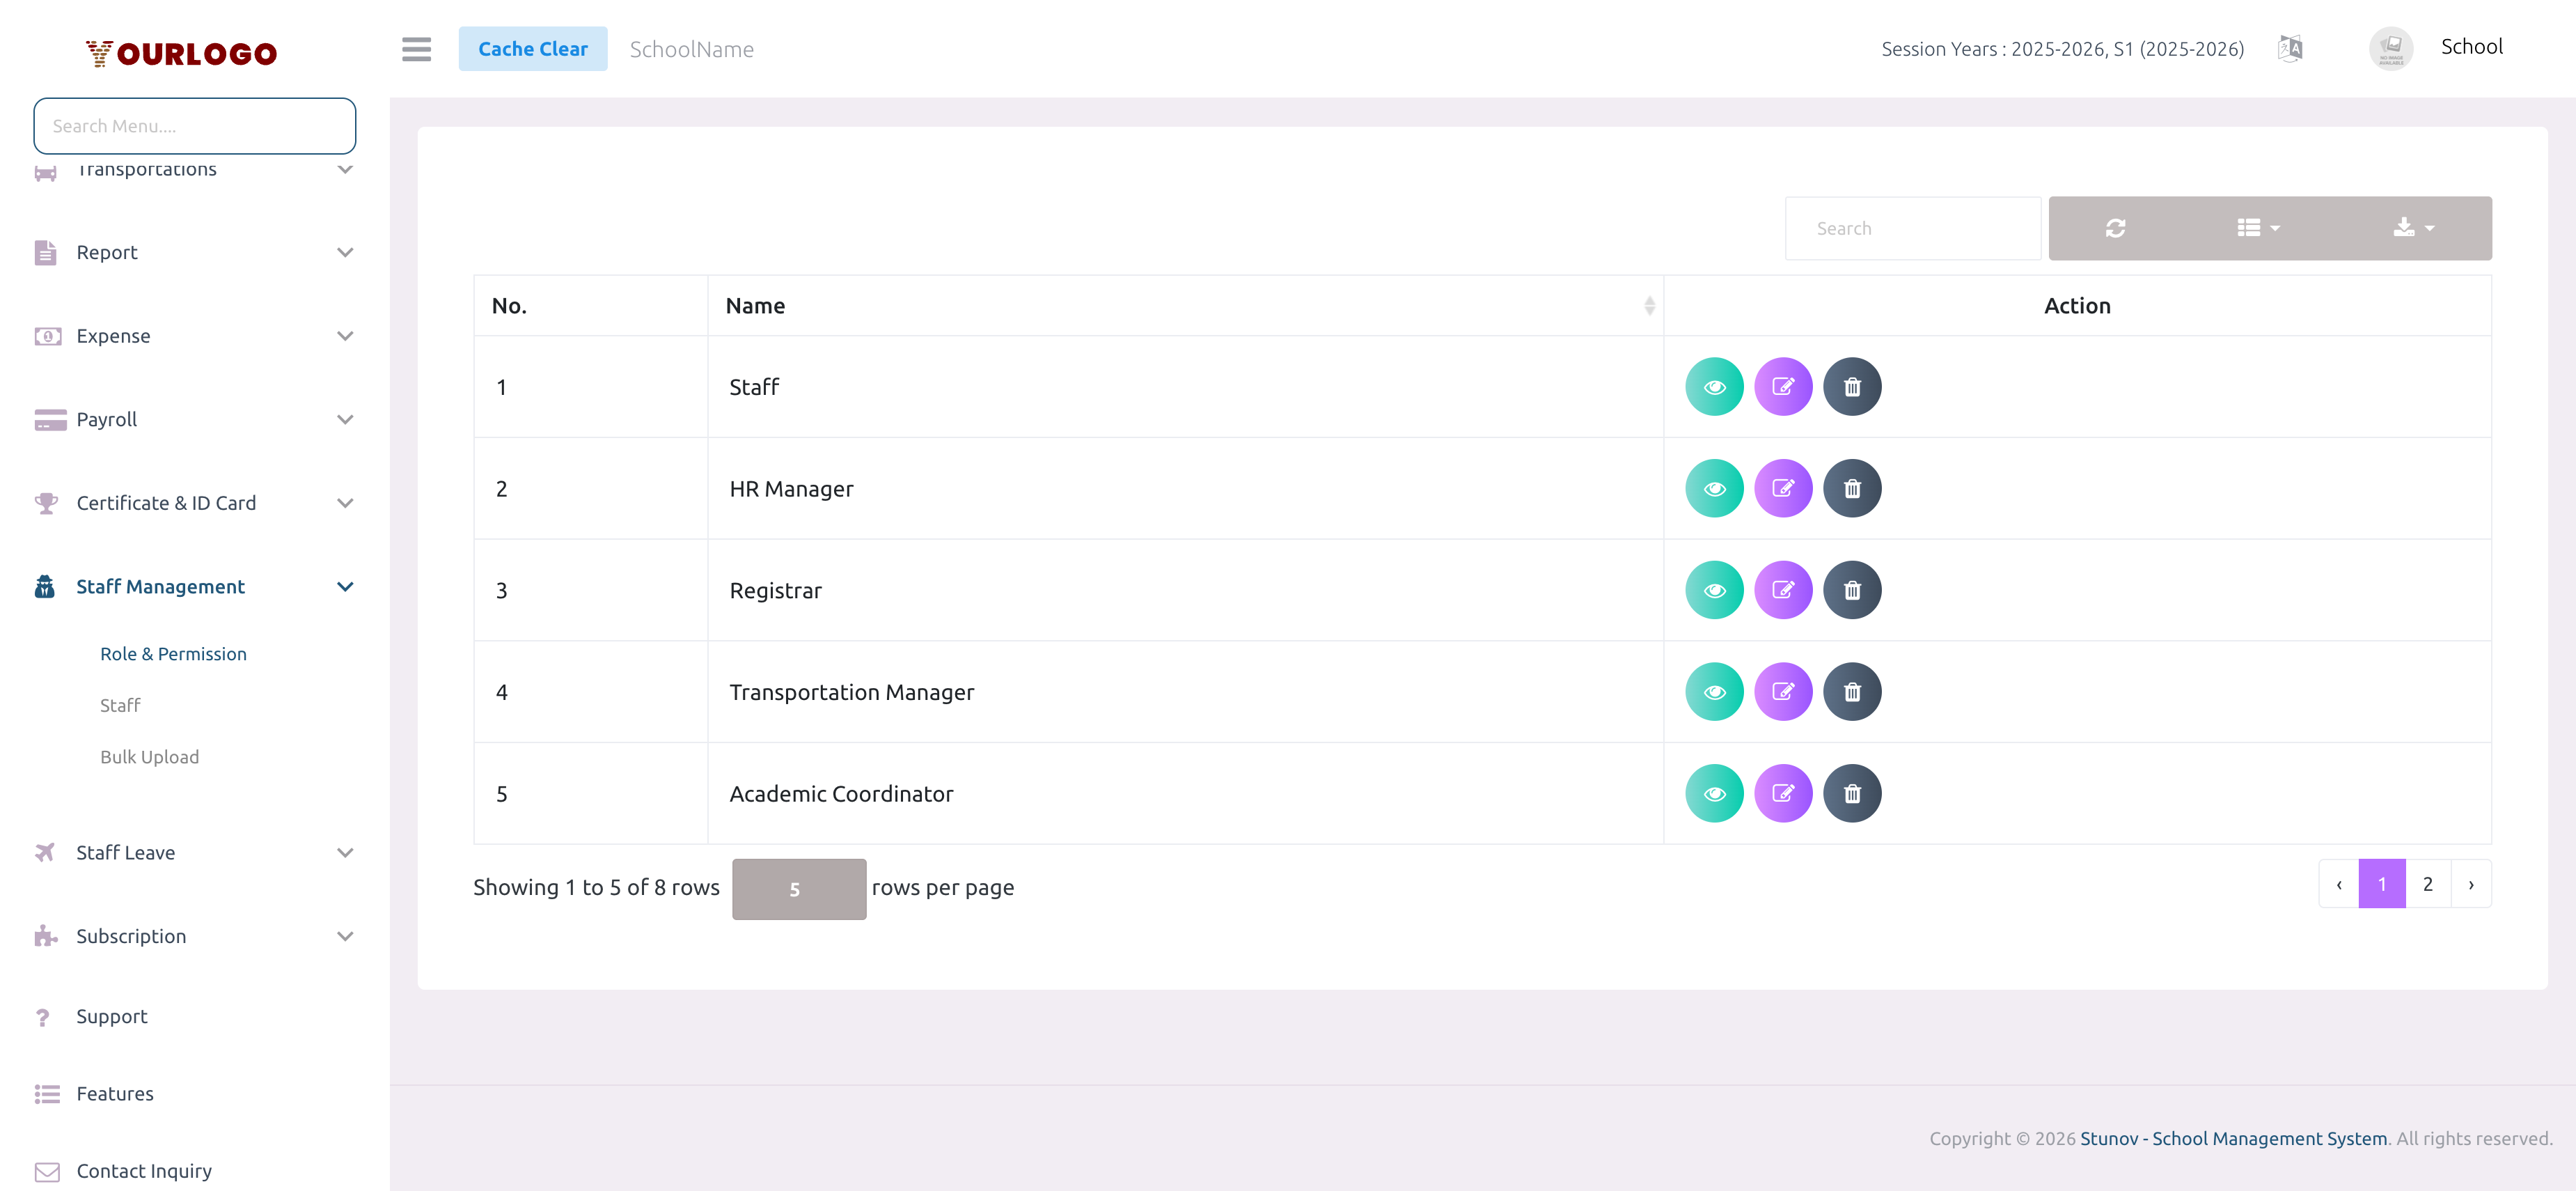
Role & Permission
Roles define what each staff member can access in the system. Every role is a named group of permissions — when you assign a role to a staff member, they gain access to exactly those features and nothing more.
The system ships with reserved roles (School Admin, Teacher, Guardian, Student) that cannot be edited. You create custom roles (e.g., Accountant, IT Manager, Academic Coordinator) and assign permissions from a comprehensive matrix covering every module.
Before adding staff members, define all the roles your school needs. Each staff member must be assigned exactly one custom role at creation time.
Create a Role
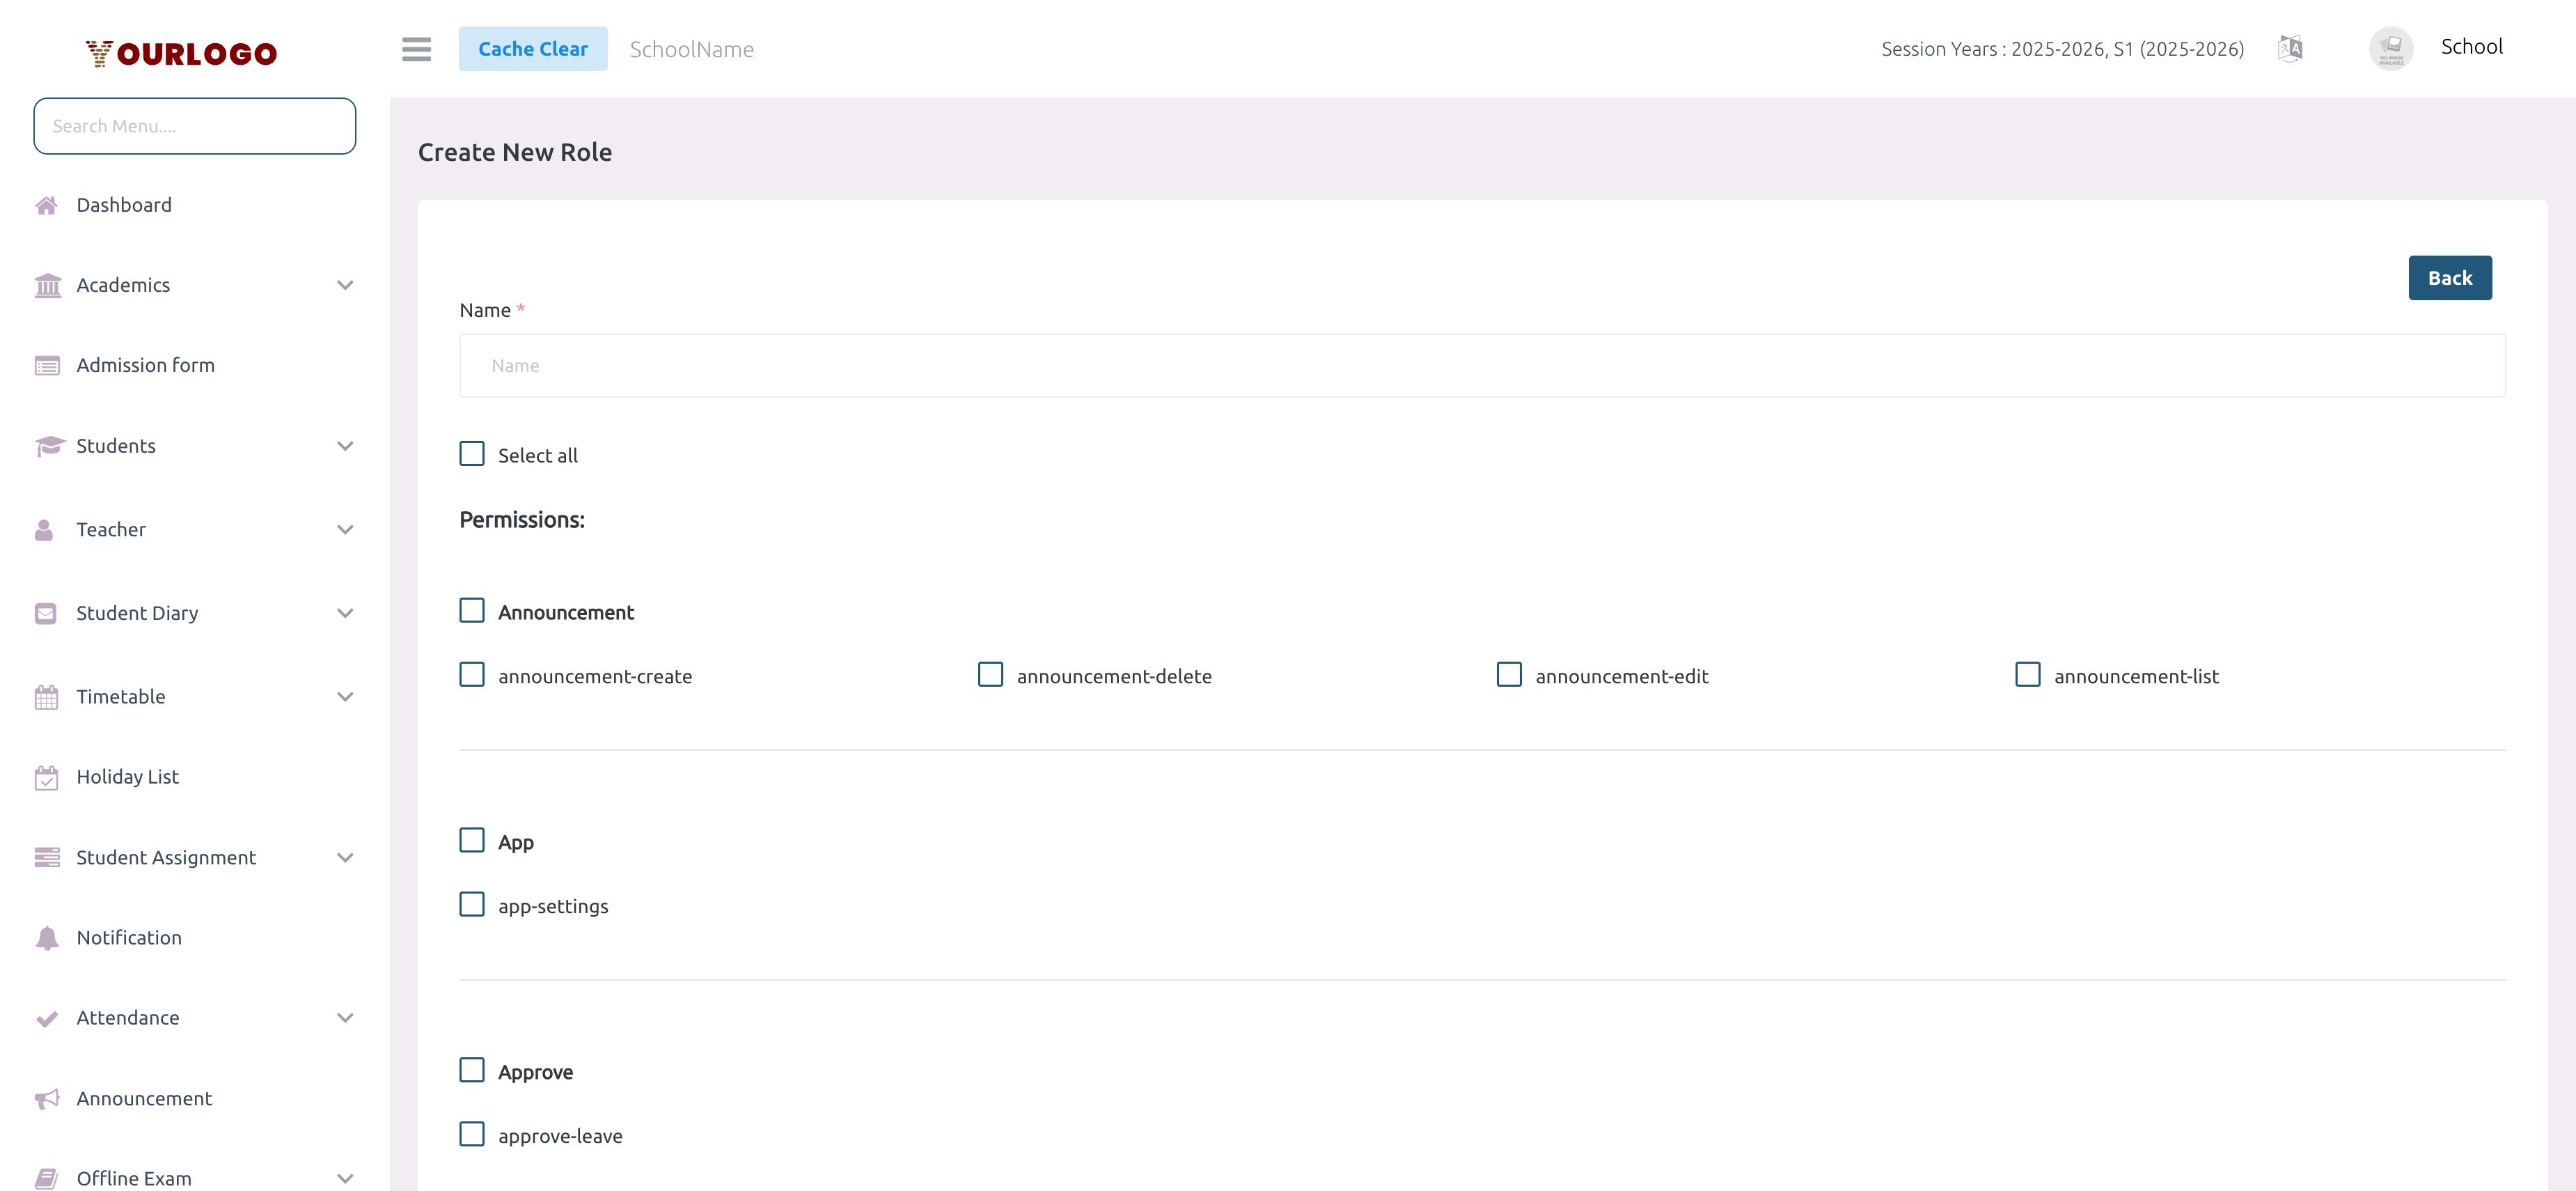
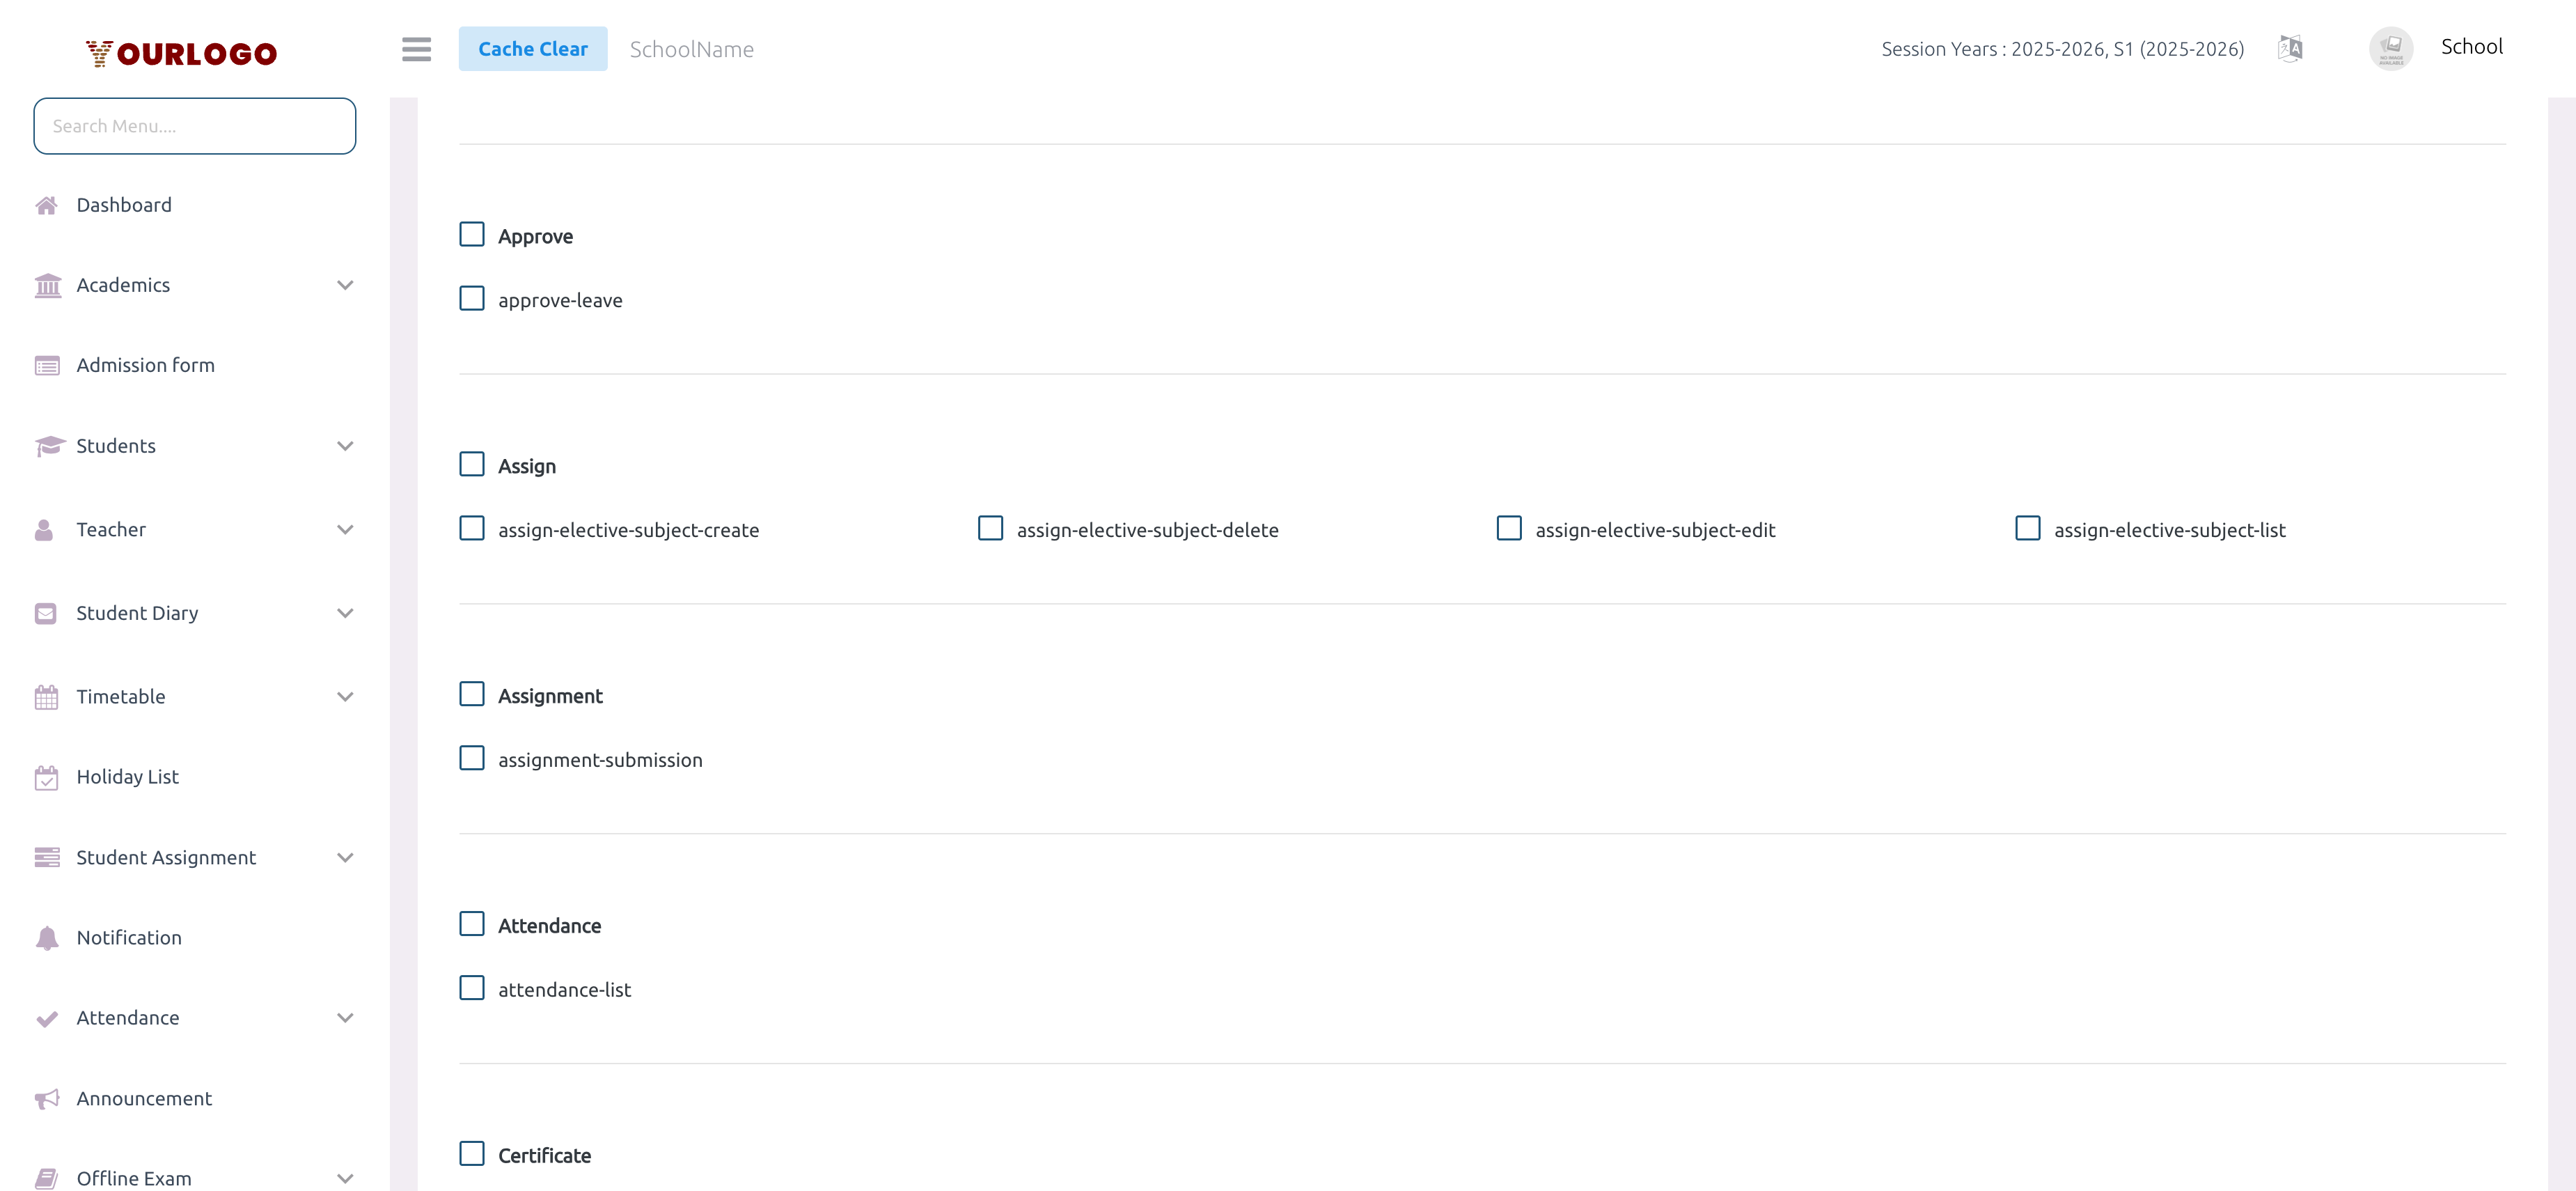
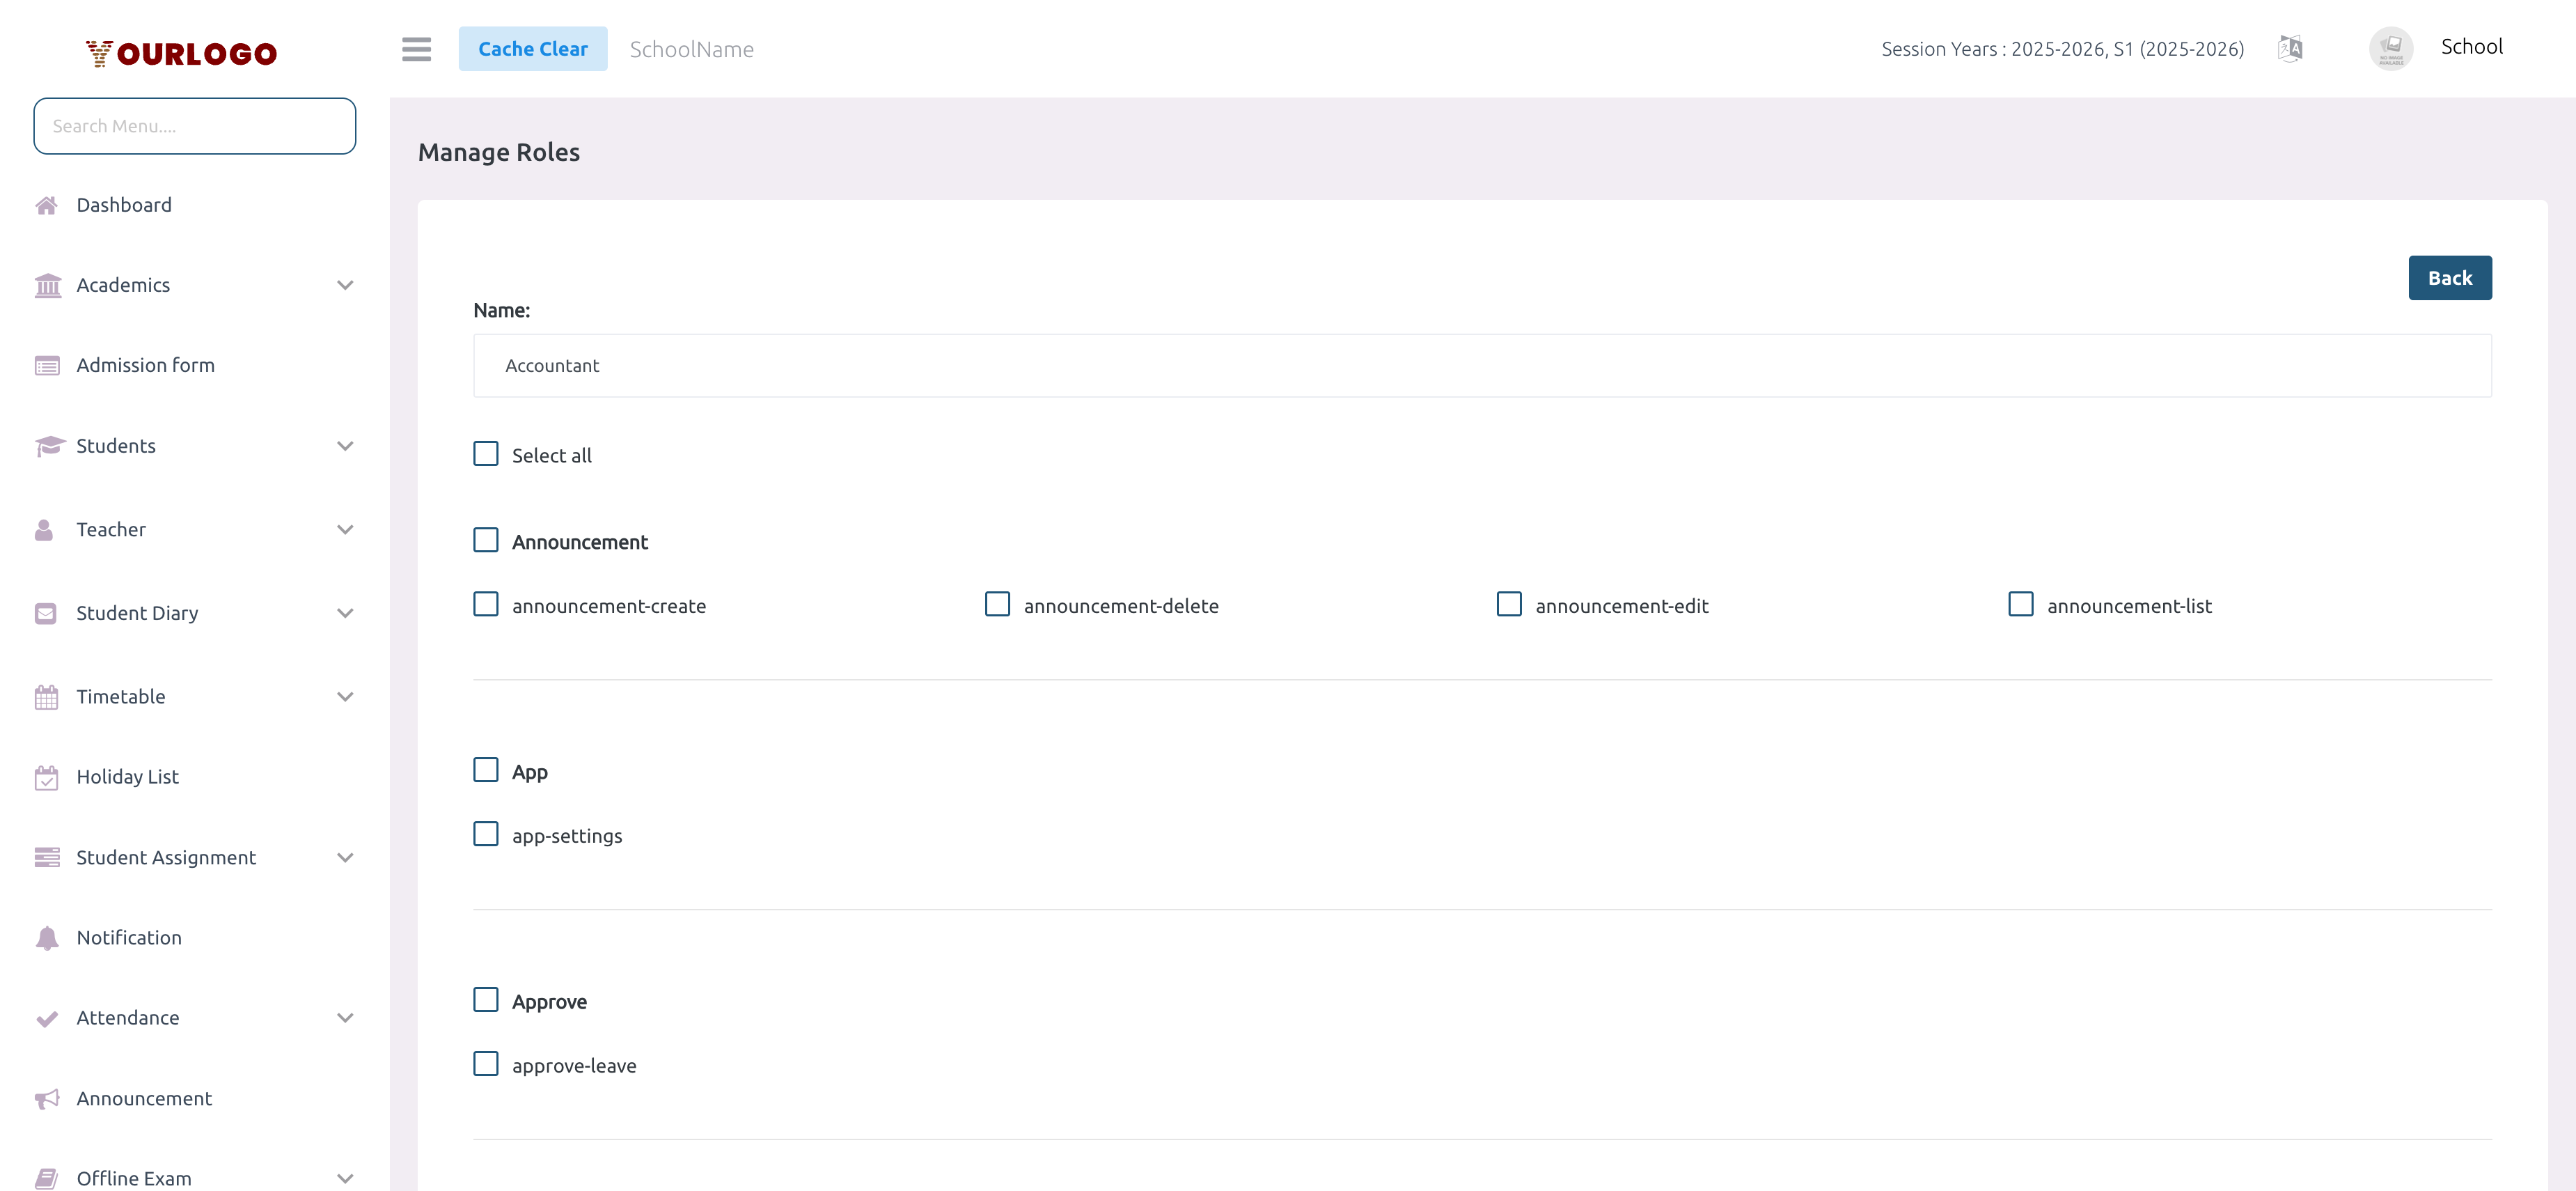
Permission Matrix
The permission matrix organizes all system features into categories. Each category has individual action checkboxes:
| Category | Available Actions |
|---|---|
| Medium / Section / Subject / Semester / Stream / Shift / Class | List, Create, Edit, Delete |
| Class Section / Class Group | List, Create, Edit, Delete |
| Admission Form Fields | List, Create, Edit, Delete |
| Student / Guardian / Teacher / Staff | List, Create, Edit, Delete |
| Student Password Reset | List |
| Student Diary | List, Create, Edit, Delete |
| Timetable | List, Create, Edit, Delete |
| Holiday | List, Create, Edit, Delete |
| Assignment | List, Create, Edit, Delete, Submission |
| Notification / Announcement | List, Create, Edit, Delete |
| Attendance | List, Create, Edit, Delete |
| Exam / Exam Timetable / Grade | List, Create, Edit, Delete |
| Exam Result | View, Edit, Upload Marks |
| Online Exam / Questions / Result | List, Create, Edit, Delete |
| Fees Type / Fees / Fees Class | List, Create, Edit, Delete |
| Fees Actions | Paid, Classes, Config |
| Expense Category / Expense | List, Create, Edit, Delete |
| Payroll / Payroll Settings | List, Create, Edit, Delete |
| Vehicles / Pickup Points / Routes / Route Vehicles | List, Create, Edit, Delete |
| Driver & Helper | List, Create, Edit, Delete |
| Transportation Requests | List, Create, Edit, Delete, Receipt |
| Leave | List, Create, Edit, Delete |
| Approve Leave | Approve |
| Reports | Student, Exam, Expense |
| Role | List, Create, Edit, Delete |
| Certificate / ID Card | List, Create, Edit, Delete / Settings |
| Slider / Gallery | List, Create, Edit, Delete |
| School Settings / Web Settings | Manage |
| Session Year | List, Create, Edit, Delete |
| Promote / Transfer Student | List, Create, Edit, Delete |
| Lesson / Topic | List, Create, Edit, Delete |
Every staff member automatically receives Leave permissions (List, Create, Edit, Delete) regardless of their role — so they can always manage their own leave requests.
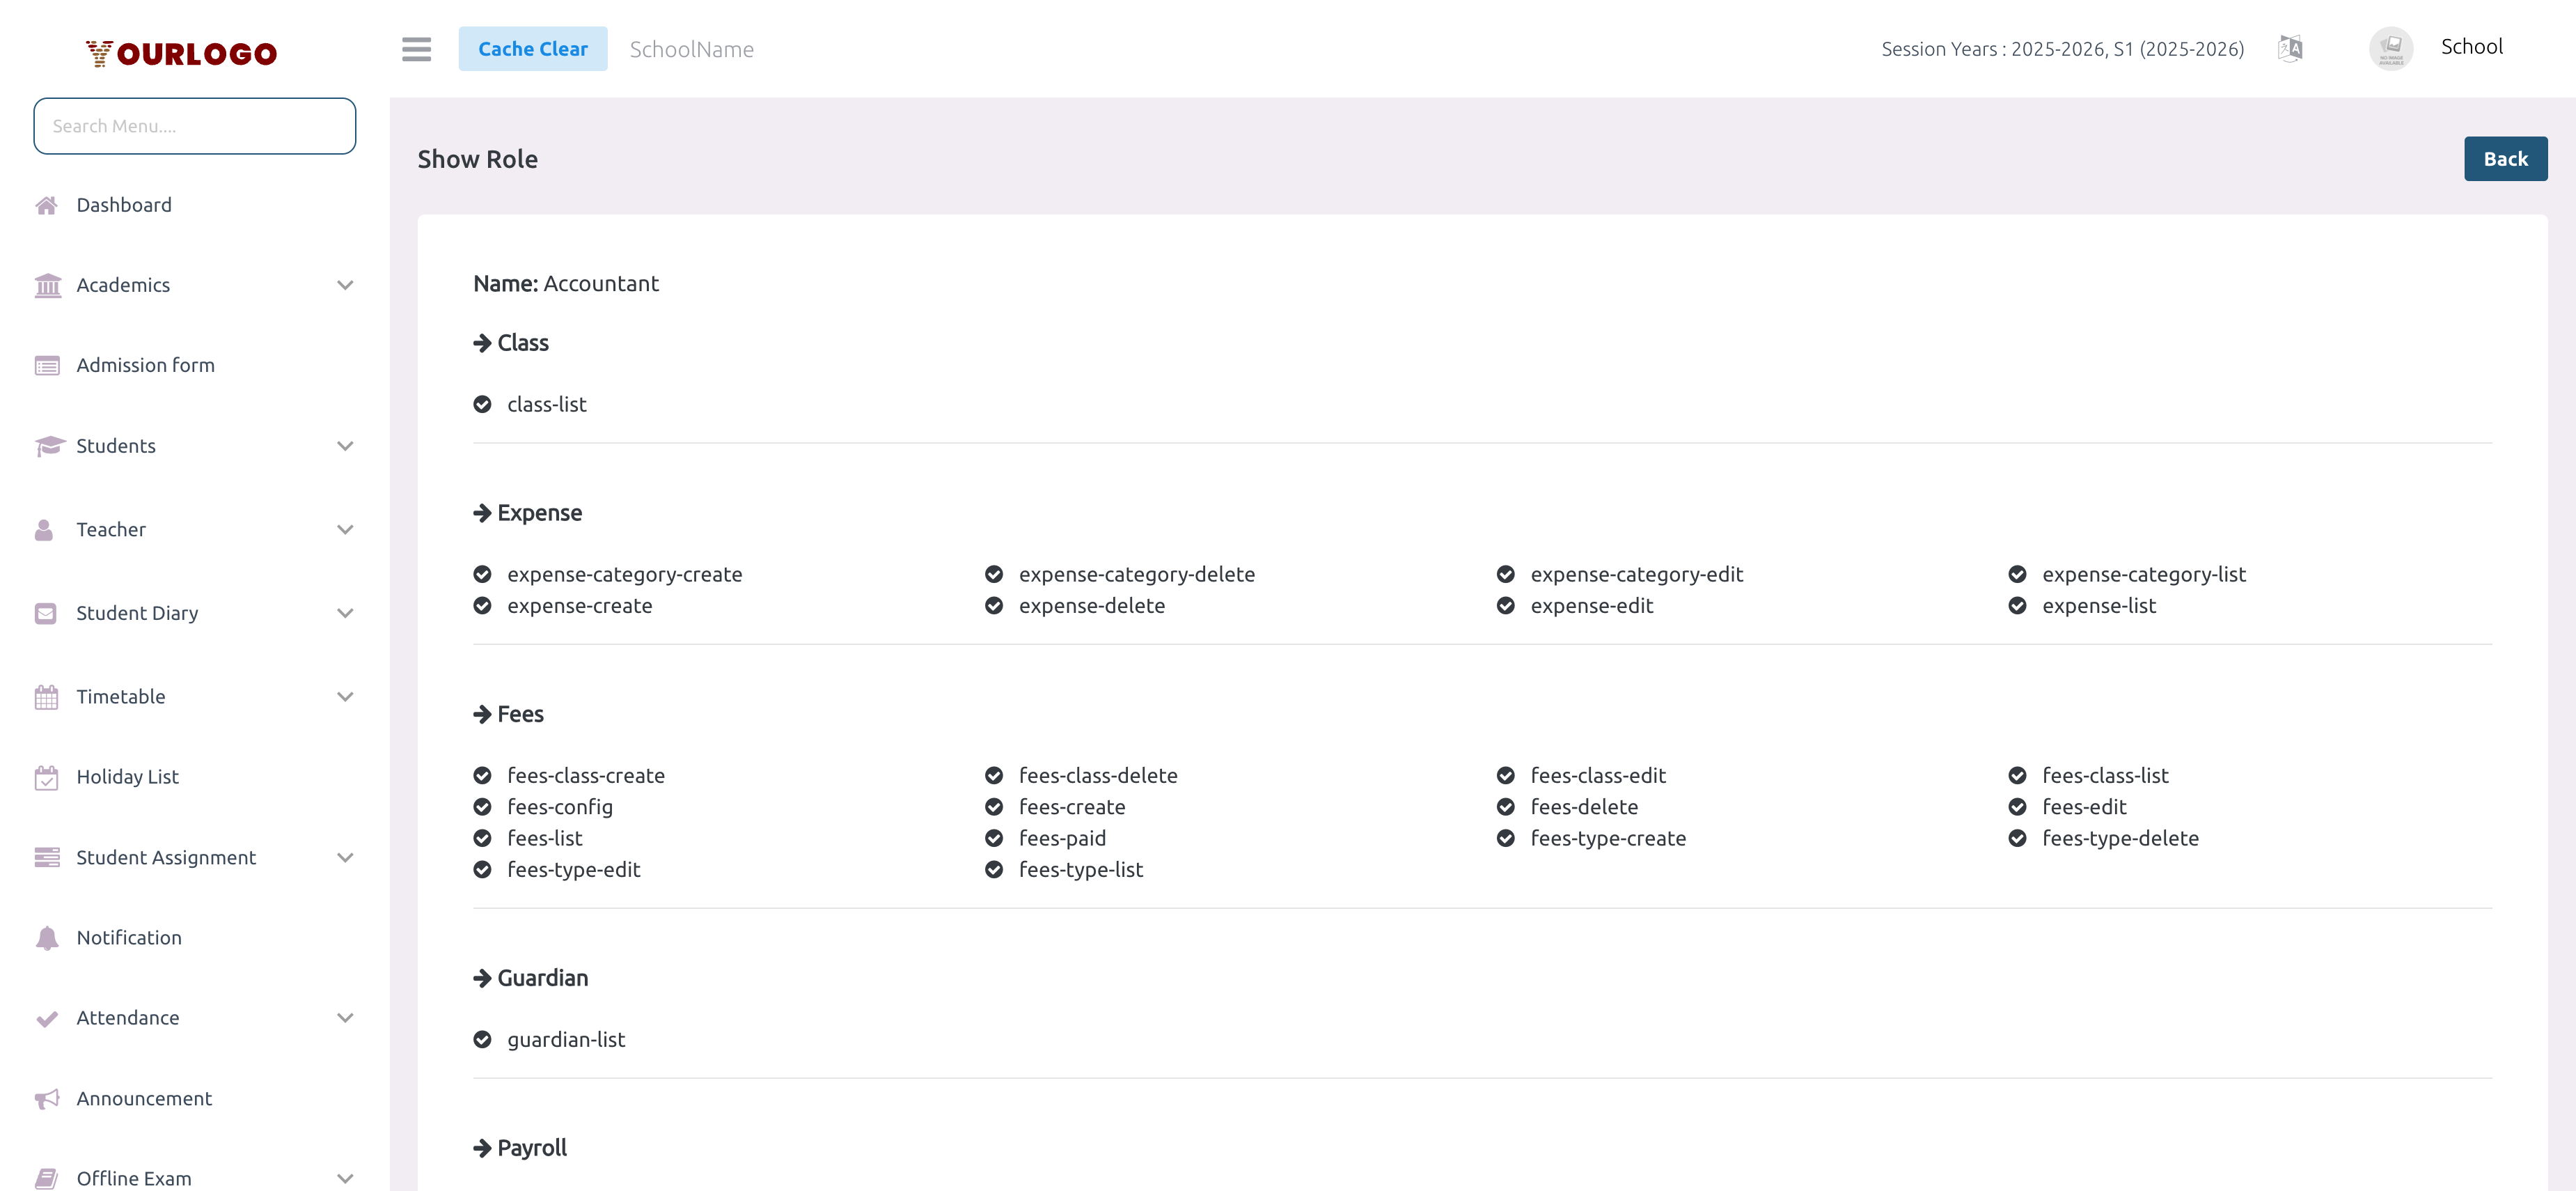
View Role Permissions
Edit a Role
Editing a role affects all staff currently assigned to it. Staff members will see their sidebar options and accessible features change immediately after their next page load.
Delete a Role
If staff members are currently assigned to this role, the system will prevent deletion. Reassign those staff to a different role first.
Related Pages
- Staff — Add and manage staff members using the roles you create here
- Bulk Upload — Import multiple staff members at once via CSV