Gallery
The Gallery page lets you create photo albums that appear on the gallery section of your school website. Each album has a title, thumbnail, multiple images, optional YouTube video links, and is linked to a session year.
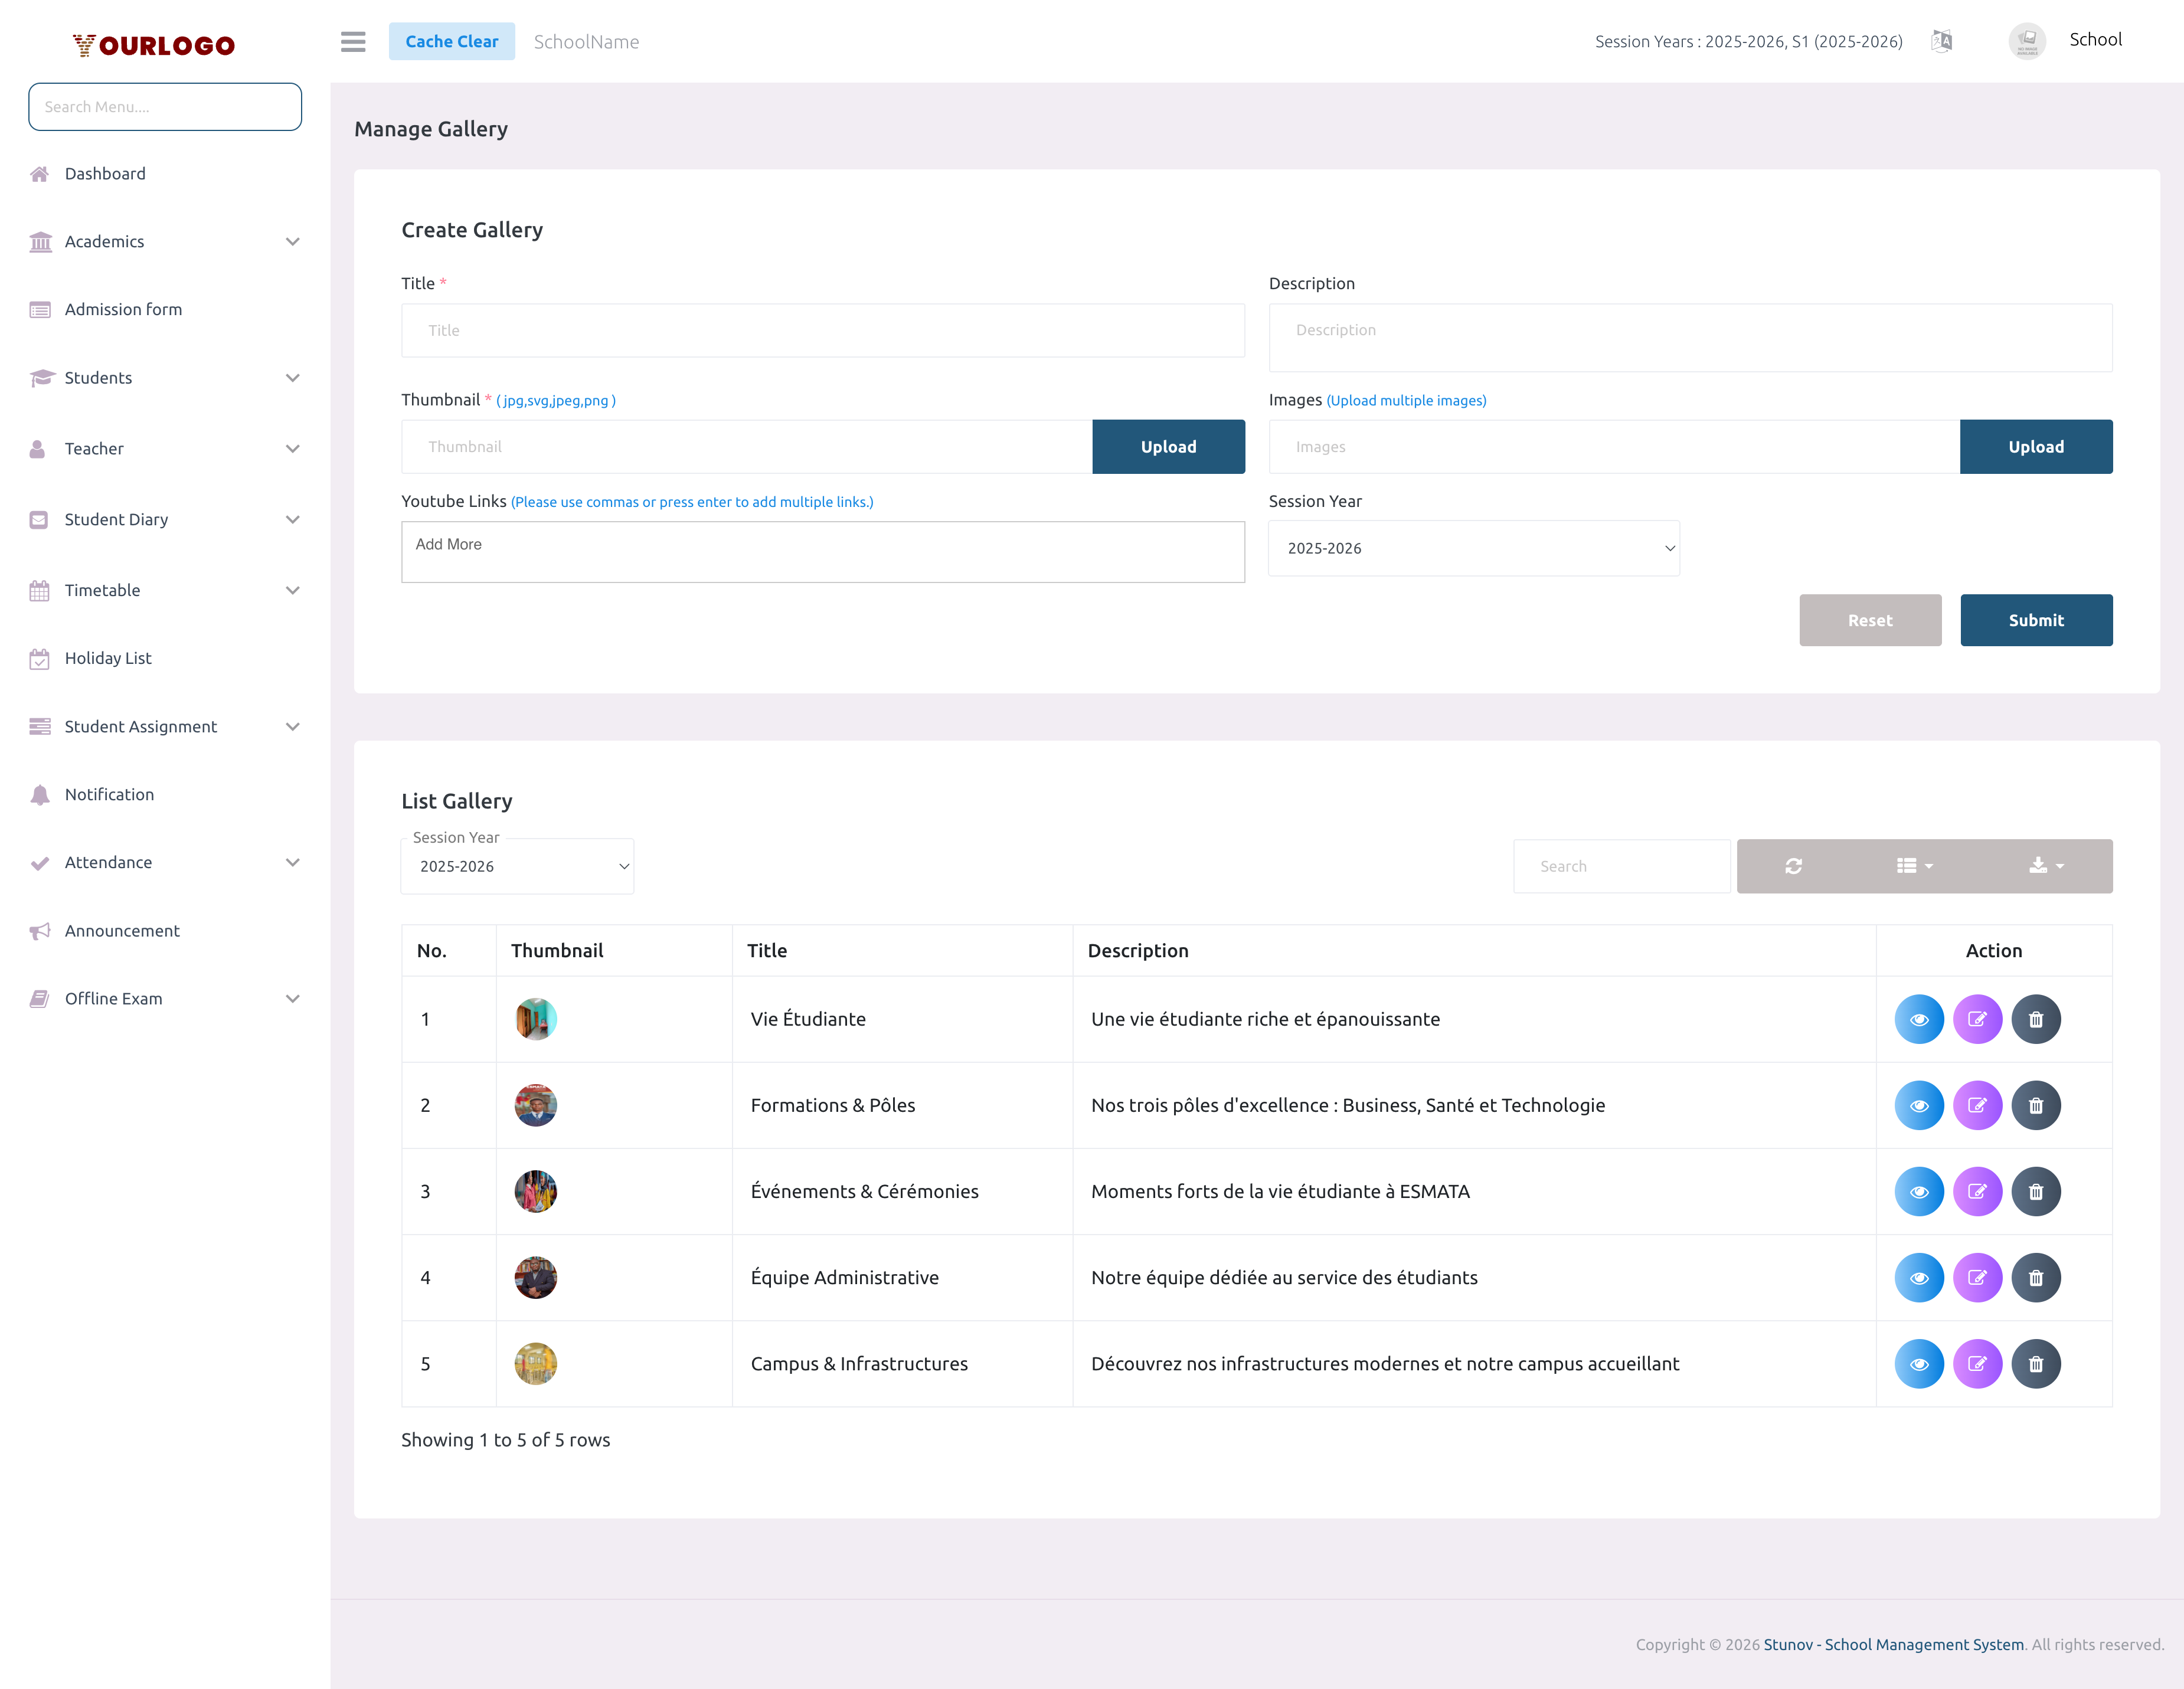
Gallery list — all albums in a searchable, filterable table
Create a Gallery Album
1
Navigate to Web Settings → Gallery
From the sidebar, expand **Web Settings** and click **Gallery**.
2
Click "+ Add Gallery"
Click the **Add Gallery** button at the top-right. A creation form opens.
3
Enter the Title
Type a descriptive title for the album (e.g., "Sports Day 2025", "Graduation Ceremony").
4
Add a Description (optional)
Provide additional context about the album.
5
Upload a Thumbnail
Upload a single cover image that represents the album. This is the image visitors see in the gallery grid before opening the album.
6
Upload Album Images
Click the multi-file upload area and select one or more images. You can select multiple files at once. These are the photos displayed when a visitor opens the album.
7
Add YouTube Links (optional)
In the **YouTube Links** field, type or paste YouTube video URLs. Press **Enter** or use a comma to add each link as a tag. Videos will display alongside photos in the album.
8
Select Session Year
Choose the **Session Year** this album belongs to from the dropdown. This allows visitors to filter gallery content by year.
9
Submit
Click **Submit** to create the album.
View Gallery Albums
The gallery table displays all albums with the following columns:
| Column | Description |
|---|---|
| No. | Row number |
| Thumbnail | Small preview of the cover image |
| Title | Album name |
| Session Year | The academic year the album belongs to |
| Action | Edit and Delete buttons |
- Use the search bar to find albums by title
- Use the Session Year dropdown filter above the table to show only albums from a specific year
Edit a Gallery Album
1
Click the Edit button
In the Action column, click the **Edit** (pencil) button next to the album.
2
Update fields
Modify the title, description, thumbnail, images, YouTube links, or session year as needed.
3
Submit
Click **Submit** to save changes.
Delete a Gallery Album
1
Click the Delete button
In the Action column, click the **Delete** (trash) button.
2
Confirm
A confirmation dialog appears. Click **Confirm** to permanently remove the album and all its images.
warning
Deleting an album removes all associated images and YouTube links. This cannot be undone.
Key Points
- Thumbnail — The cover image for the album grid. Use a clear, representative photo.
- Multi-upload — You can upload many images at once by selecting multiple files.
- YouTube embedding — Paste full YouTube URLs; they're automatically embedded in the album view.
- Session year — Albums are filterable by session year on the public website.
- Gallery section toggle — The gallery visibility on the homepage is controlled from the Content page (Gallery section → Enable/Disable).