Upload Profile Images
Upload Profile Images lets you add or update student profile photos in bulk. This is especially useful after a bulk data import where students were enrolled without photos, or when you receive new school photos from a photographer.

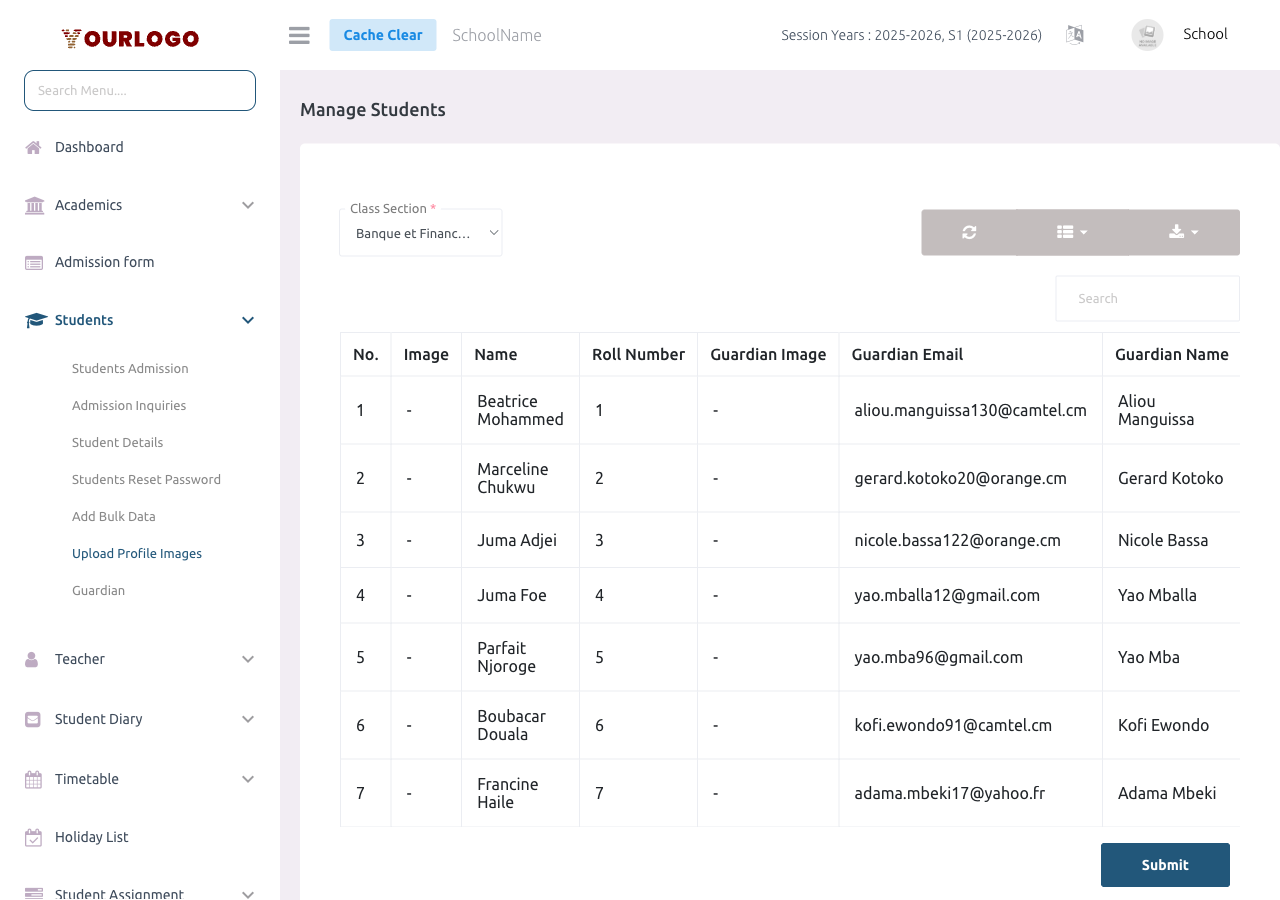
Upload Profile Images — filter by class/section then upload a photo for each student
Upload Photos
1
Navigate to Academic Management → Students → Upload Profile Images
From the sidebar, expand **Academic Management → Students** and click **Upload Profile Images**.
2
Select Class and Section
Use the **Class** and **Section** dropdowns to filter. After selecting both, the student list for that class section loads.
3
Choose images for each student
For each student row, click the file input in the **New Image** column and select a photo from your computer. You can see the **Current Image** thumbnail (if any) to the left.
4
Click Submit
Click **Submit** to upload all selected images. The system processes each file and updates the corresponding student profile immediately.
Image Requirements
- Formats: JPEG, JPG, PNG, SVG
- Max size: 2 MB per image
- Recommended dimensions: Square aspect ratio (e.g., 300×300 px or 500×500 px) for best display
Tips for Bulk Photo Uploads
- Prepare all photos in advance with consistent naming (e.g.,
admission_no.jpg) for easy matching - Compress large photos before uploading — most school management contexts don't need high-resolution images
- Use square-cropped photos for a clean, consistent look across the application
- Photos appear in: student list, student profile, attendance sheets, ID cards, and the student/parent mobile app
What Happens to Existing Photos
When you upload a new photo for a student who already has a profile image:
- The old image is replaced by the new one
- The change takes effect immediately across all modules (student details, ID cards, attendance, mobile app)
Related Pages
- Student Admission — Upload individual photos during admission
- Student Details — View and edit individual student photos
- Add Bulk Data — Import students (without photos) via CSV
- Certificate & ID Card — Student ID Card — Student photos appear on generated ID cards