Session Year
A Session Year defines the academic calendar period for your school (e.g., 2025-2026). It controls when attendance tracking starts, when fees are due, and which data is active across the system. Every school must have at least one session year, and exactly one must be marked as the default.
Session Years are referenced throughout the system — in attendance, fees, exams, leave settings, and promotions. Create your session years early in the setup process.
Create a Session Year
View Session Years
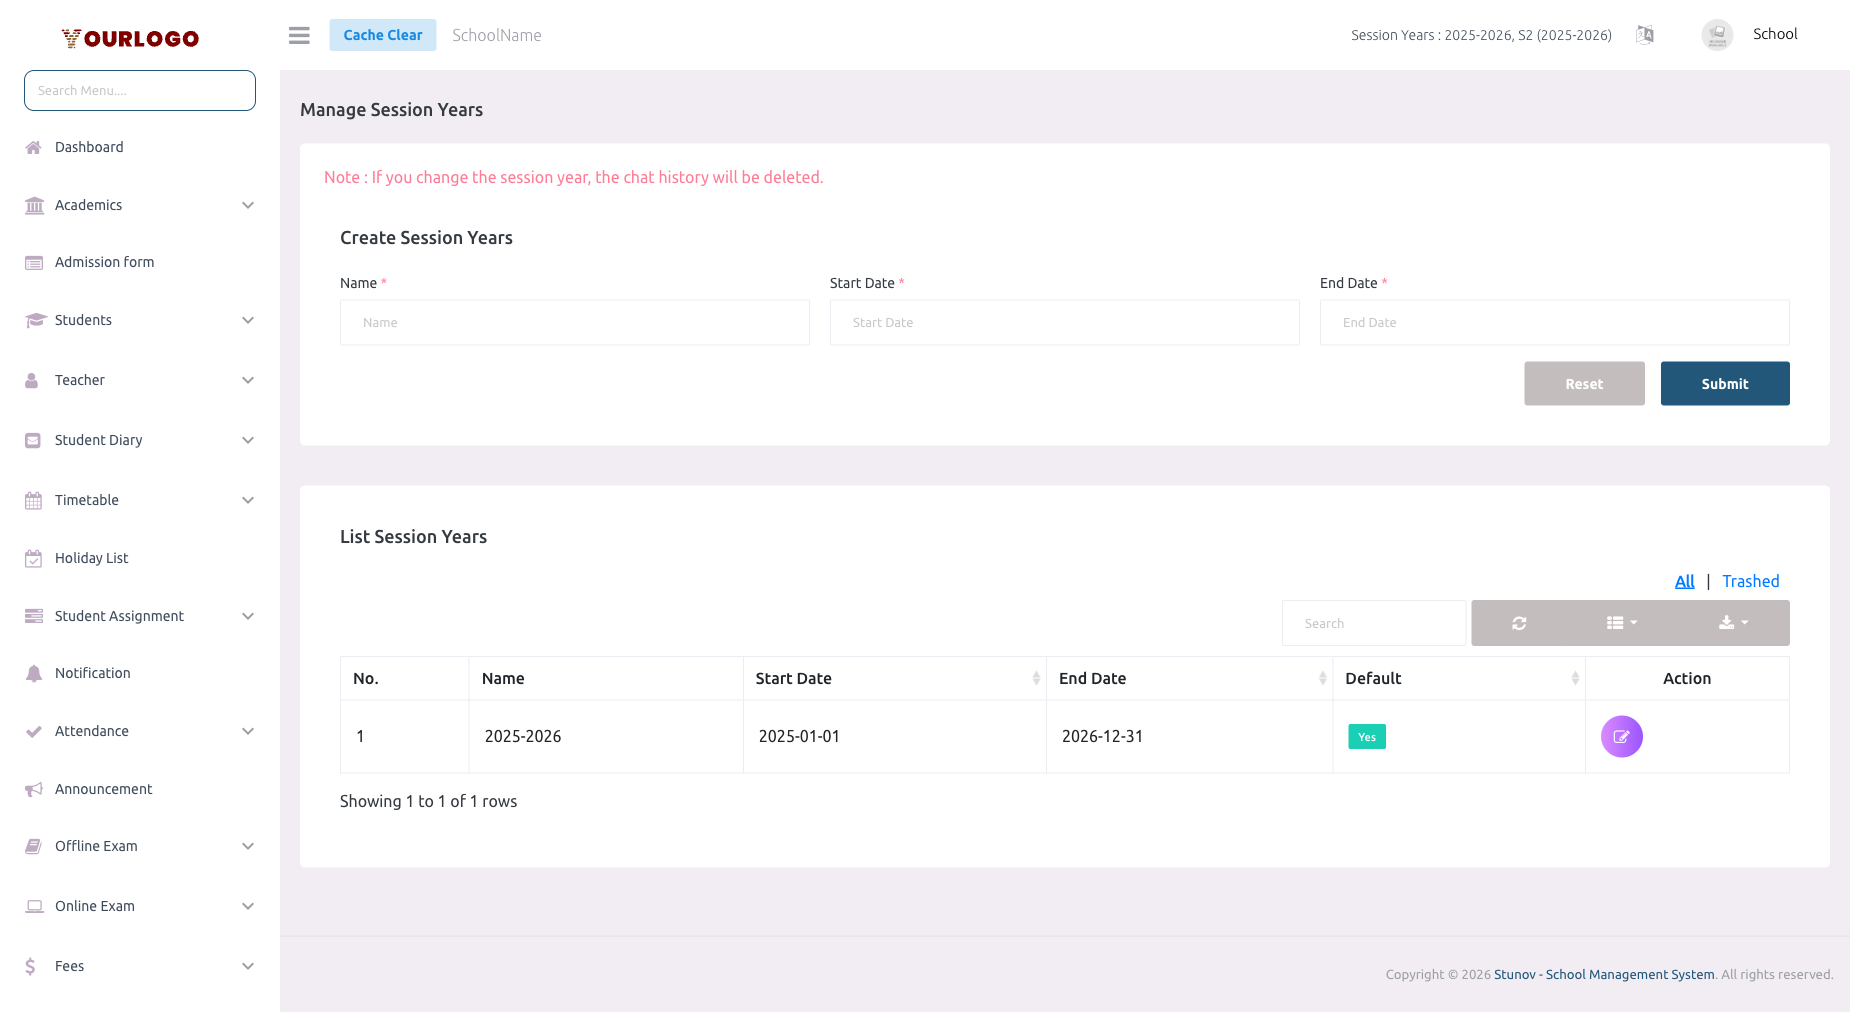
The session year list displays all sessions in a table:
| Column | Description |
|---|---|
| No. | Row number |
| Name | Session year name (e.g., 2025-2026) |
| Default | Shows which session is currently active (marked with a badge) |
| Start Date | Academic year start |
| End Date | Academic year end |
| Action | Set Default, Edit, and Delete buttons |
Set Default Session Year
Changing the default session year affects which data is displayed across the entire system — attendance records, fee assignments, exam results, and leave balances all filter by the active session. Make sure the new session year is properly configured before switching.
Edit a Session Year
Delete a Session Year
The system prevents deletion of the currently active (default) session year. Switch to a different default first before deleting.
Restore a Deleted Session Year
Deleted session years are soft-deleted and can be restored:
- In the session year list, switch to the Trash view
- Click Restore next to the deleted session
- The session year returns to the active list
To permanently remove a session year, use Force Delete from the Trash view.
Related Pages
- General Settings — Core school configuration
- Leave Settings — Leave policies are linked to session years
- Fees — Fee structures are configured per session year